
Last updated October 8, 2026
Free on-site gate assessment - hinges, posts, and your LiftMaster or Nice gate operator checked before anything is quoted
The assessment is free and the quote is the invoice.


 Before
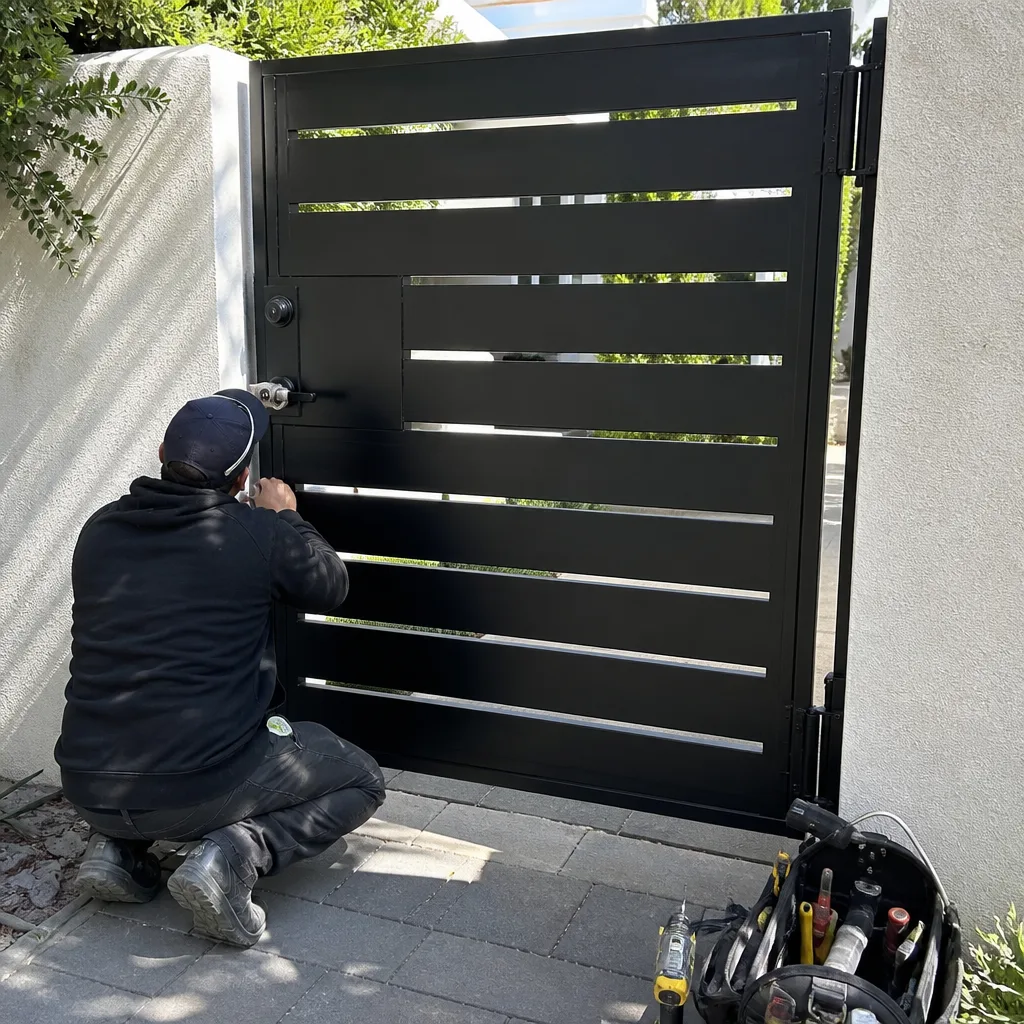 After
After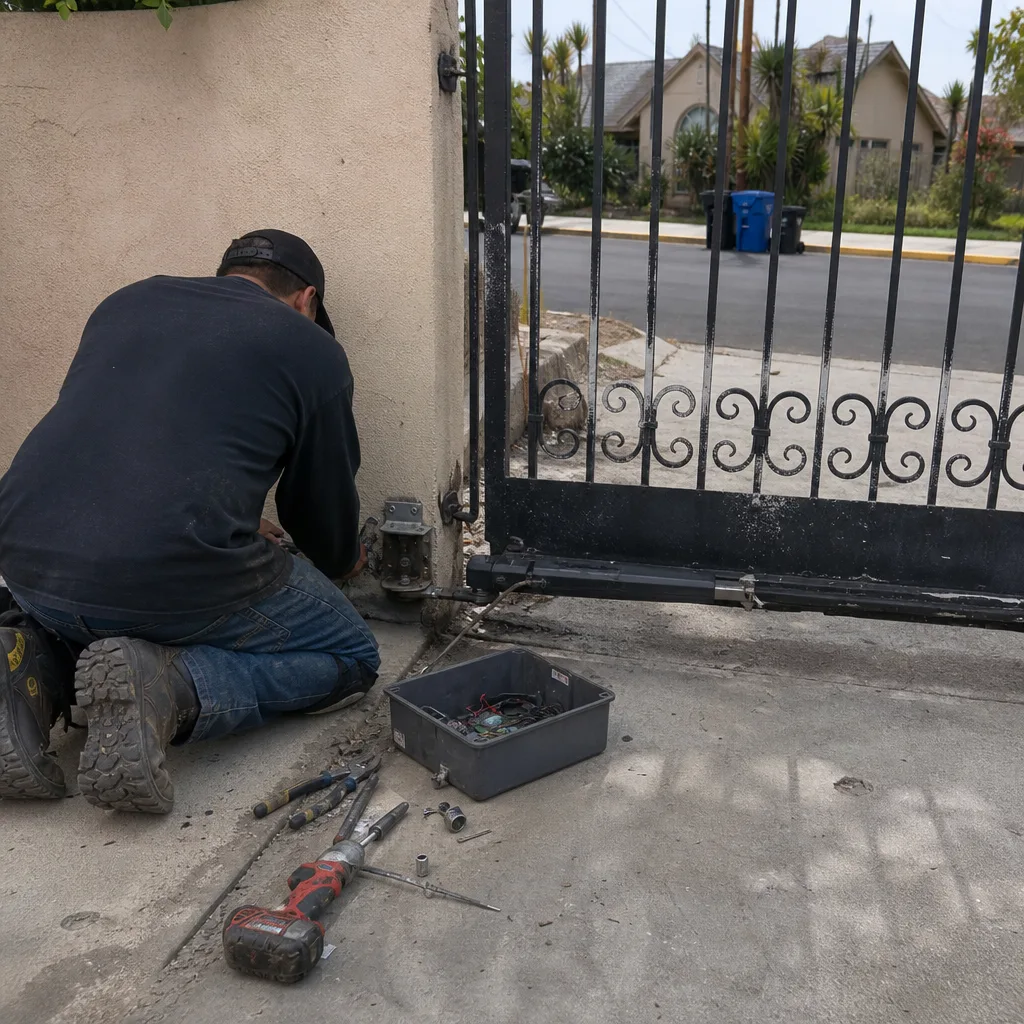 Before
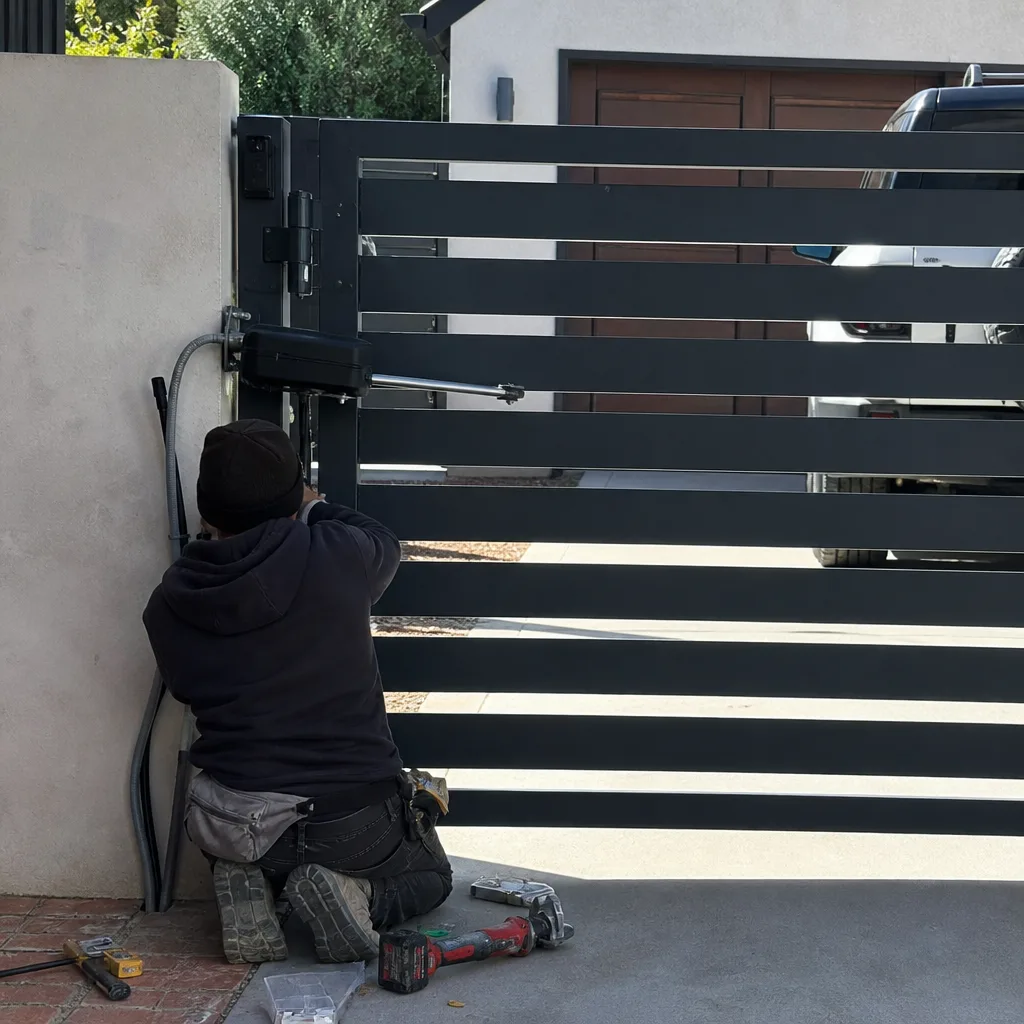 After
After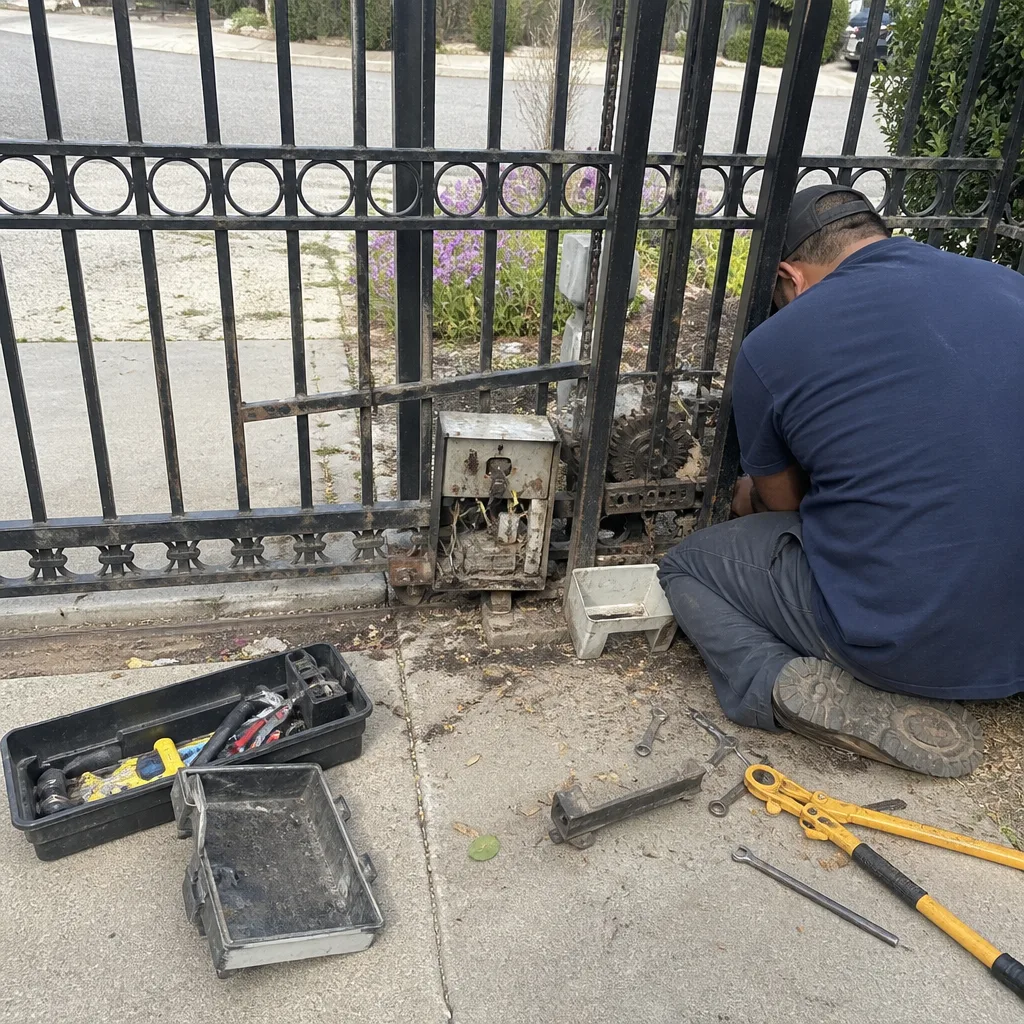 Before
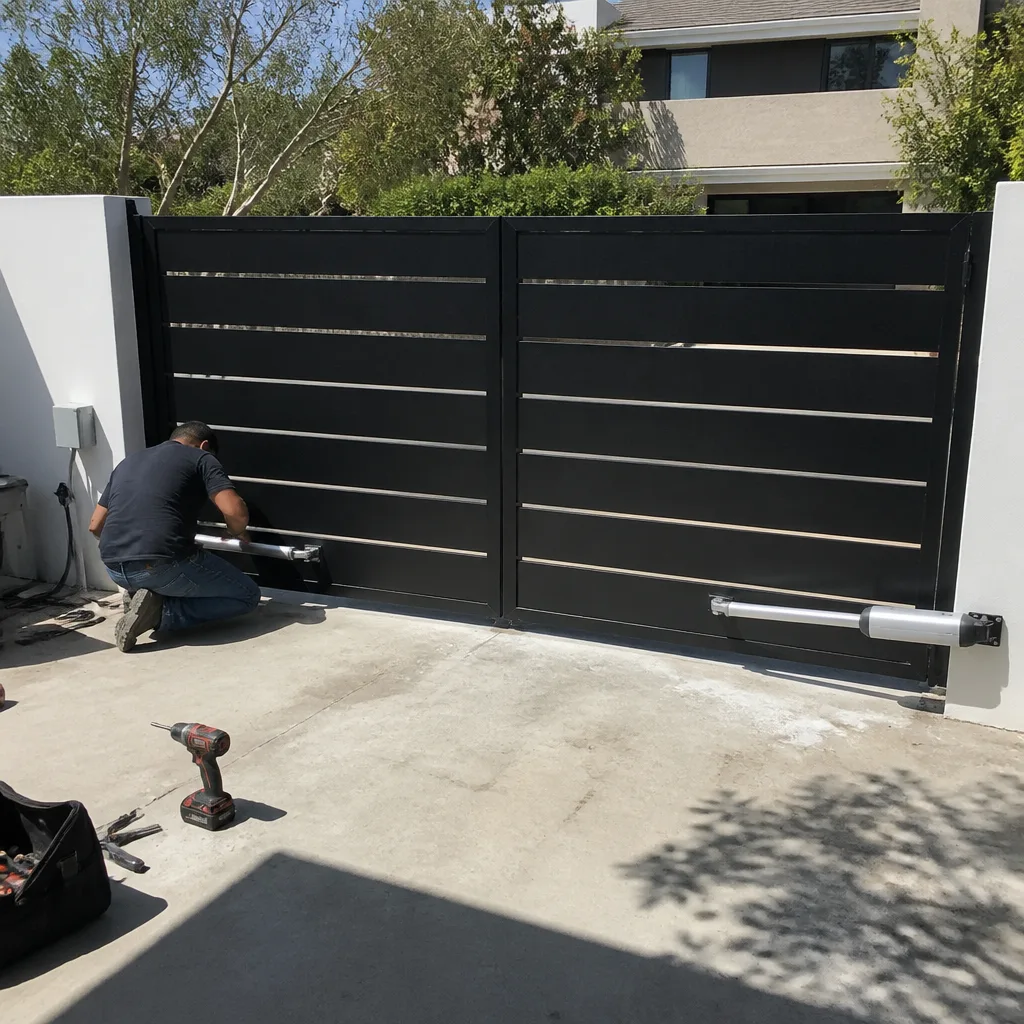 After
AfterGate Installation Troubleshooting: Common Problems and How to Fix Them
Here’s a statistic we’ve earned the hard way in Los Angeles: roughly seven of every ten gate problems we’re called out to fix on recently installed systems trace back not to the gate itself, but to what happened during the final hour of installation. The installer packs up, the gate works fine for six weeks, and then the trouble starts. A slide gate that derails after three months wasn’t necessarily built wrong. It was almost certainly not squared to the track during commissioning. That’s a one-hour fix if caught at install. It’s a track replacement if ignored. This guide walks you through what proper commissioning looks like, so you can tell the difference between a bad installation and a bad gate, and so you know exactly what to ask for the next time someone puts a wrench to your property. For related reading, see our Gate Installation Warning Signs Every Homeowner Should Know.
Quick Answer
Most Gate Installation services problems are not manufacturing defects. They are calibration errors made during commissioning: limit switches set too tight, tracks not squared, sensors buried at the wrong depth, or wiring landed on the wrong terminal. These errors create symptoms that show up weeks or months later. The fix is almost always recalibration, not replacement, and a properly written installation guarantee should cover exactly that work for at least a year.
Table of Contents
- The Commissioning Checklist Every Installer Should Run Before Leaving
- Manufacturing Defect or Calibration Error: How to Tell the Difference
- Operator Limit-Switch Drift: Why Your New Gate Stops Short After a Month
- The Three Most Common Wiring Errors in New Installations
- Sensor Loop Burial Depth: The Invisible Problem Under Your Driveway
- What Your Written Installation Guarantee Should Actually Cover
- Track Squaring and the Derailed Slide Gate
- Common Mistakes to Avoid
- When to Call a Professional
- Frequently Asked Questions
The Commissioning Checklist Every Installer Should Run Before Leaving
Commissioning is the gate trade’s word for the final setup and testing sequence after hardware is bolted in. It is not the same as installation. Installation puts the gate on the posts. Commissioning makes sure the gate will still be working on that same track, at the same speeds, with the same safety responses, six months later. A gate can be installed perfectly and commissioned poorly, or installed poorly and commissioned well enough to hide the problem for a while. Either way, you’re left holding the bill when it fails.
Here is the checklist we run on every new install in Los Angeles, and the one you should ask any installer to walk you through before they leave:
- Track square and level check. For slide gates, the installer should measure the track spacing at both ends and confirm the rail is level within an eighth of an inch across its full run. For swing gates, both hinges should sit on the same vertical plane, and the gate leaf should hang without sag.
- Limit switch calibration. The operator should be set so the gate fully opens and fully closes without slamming the stops. The gate should decelerate in the last few inches rather than coasting into the post.
- Obstruction sensitivity test. A properly commissioned gate reverses when it meets resistance, whether that’s a child’s bike in Los Angeles or an Amazon box. The installer should test this by hand, repeatedly, on both open and close cycles.
- Photo eye and edge sensor alignment. Every monitored safety device should be aligned and tested. The gate should not close if a photo eye beam is broken.
- Loop detector frequency setting. For automated driveway gates, the vehicle detection loops are tuned to a specific frequency at commissioning. A loop tuned wrong might work on a small car and fail on a truck.
- Full cycle count. The installer should run the gate through at least ten complete open and close cycles while watching belt tension, chain slack, limit engagement, and sensor response.
- Manual release test. Every operator should be disengaged and re-engaged by hand to confirm the gate can be operated in a power outage.
- Written checklist handoff. If the installer cannot hand you a list of what they set and tested, that’s your first warning sign.
None of these steps are exotic. Every one of them takes minutes. But in our experience across Los Angeles, at least one of them gets skipped more often than not.
Manufacturing Defect or Calibration Error: How to Tell the Difference
When a newly installed gate starts misbehaving weeks after install, the first question is usually “did they sell me a defective gate?” The honest answer in most cases is no. The honest answer is that the gate was never set up correctly in the first place, and the symptom simply took time to appear.
Here’s how the two present differently:
- Manufacturing defects show up immediately. A bad capacitor in the operator board, a warped gate leaf, a faulty transformer. These problems appear on day one or week one, not month three. If your gate worked flawlessly for the first 60 days, the hardware itself is probably fine.
- Calibration errors show up late. A limit switch that is set half an inch too tight works fine until the chain stretches slightly. Then the gate starts stopping short. A track that is only slightly out of square wears the rail rollers gradually until the gate jumps the track entirely. A loop detector set with too much sensitivity works until the neighbor in Los Angeles installs a new electrical panel and suddenly your gate opens for phantom vehicles.
- Manufacturing defects are consistent. The same failure happens every time, the same way. A bad operator board fails intermittently but with the same signature: reset, run, overheat, stop.
- Calibration errors are inconsistent. They vary with weather, vehicle type, gate position, or how long since the last cycle. This inconsistency is the single biggest tell.
We’ve walked onto properties in Silver Lake where the gate had been “repaired” three times by three different technicians, each replacing a different part. The actual problem was a limit switch that had never been adjusted correctly at install. The parts were fine. The commissioning was not.
When you call a company about a failing new gate, ask them directly: “Will you verify the commissioning settings before you quote me on replacement parts?” A technician who knows the trade will appreciate the question. A technician who gets defensive is about to sell you parts you don’t need.
Operator Limit-Switch Drift: Why Your New Gate Stops Short After a Month
The limit switch is the component that tells the operator motor when the gate has reached its open or closed position. On most modern operators, including the Linear and BFT models we service routinely, these are magnetic or mechanical switches mounted on a rail or driven by a cam inside the operator housing. When they’re set correctly, the gate runs full travel every time. When they’re set too close to the mechanical stop, the gate fights itself on every cycle.
What happens next is predictable. The chain or belt stretches microscopically with use. The operator’s internal torque monitoring sees higher resistance near the end of travel and starts cutting power early to protect the motor. The result is a gate that opens 80% of the way and decides it’s done. Over time, the stopping point gets shorter and shorter.
This is not a “broken limit switch.” This is a limit switch that was set without enough travel margin at install. The fix is recalibration, not replacement, and it is one of the fastest repairs we do anywhere in Los Angeles.
Here’s the calibration sequence we use, and what a competent installer should be willing to walk you through:
- Disengage the operator from the gate using the manual release.
- Push the gate by hand to the fully open position and note where the physical stop is.
- Set the open limit so the gate stops one to two inches short of the physical stop.
- Set the close limit the same way: one to two inches short of hard contact with the closing post.
- Re-engage the operator and run a minimum of five full cycles to confirm consistent stopping positions.
- Adjust if the stopping position varies by more than half an inch between cycles.
If you’re not comfortable working inside the operator housing, don’t. The gearing inside a gate operator can pinch fingers fast, and the capacitor holds a charge even with power disconnected. This is a job for a trained tech, but understanding the sequence lets you evaluate whether the person you hired actually did the work.
The Three Most Common Wiring Errors in New Installations
Most new gate problems we trace to wiring are not exotic. They’re the electrical equivalent of putting the wrong key in the door: simple, common, and completely avoidable.
Error one: the missing common wire. Many gate operators, including Viking and Ghost Controls units, require a common neutral or common ground wire between the operator board and every accessory: photo eyes, keypads, loop detectors, edge sensors. When an installer lands a device’s signal wire but not its common, the device powers up and appears to work, but it behaves erratically. A photo eye works on sunny days and falses in humidity. A keypad works when the gate is closed but not when the motor is running. The symptoms are maddening because they look like device failures. The fix is a continuity test and one wire landed correctly.
Error two: the share terminal mistake. Multiple devices should each land on their own input terminal. When an installer connects a keypad and a push button to the same terminal, the operator cannot tell which device triggered the cycle. That matters for functions like auto-close timers and vacation locks. The gate works, but the logic is scrambled. Un-share the terminals and the phantom behavior stops.
Error three: ground faults from a nicked jacket. In Los Angeles, where many gates run alongside irrigation systems and mature root systems, wires get pulled through conduit that is old, wet, or already crowded. A jacket that gets nicked during the pull may not short immediately. It becomes a slow ground fault that gets worse when the soil is wet after rain or irrigation. The gate trips its GFCI protector, or worse, the operator board shows erratic inputs. A professional installation includes megger testing of the wire runs before they get buried or concealed, precisely so that this failure mode never makes it past the install date.
Sensor Loop Burial Depth: The Invisible Problem Under Your Driveway
Vehicle detection loops are coils of wire buried in the driveway surface that sense the metal mass of a car and tell the gate to open. They are simple devices with one install rule that gets broken constantly. The loop must sit at a consistent depth, usually between one and two inches below the surface, with no sharp bends, no kinks, and no splice joints inside the saw cut.
Here’s what goes wrong in Los Angeles driveways:
- Loops buried too deep lose sensitivity. A sedan triggers the gate, but a motorcycle does not. Or the gate opens for the first car and closes on the second car waiting behind it.
- Loops buried too shallow get hit by thermal expansion. Los Angeles summers push driveway surface temperatures past 150 degrees. Concrete and asphalt move. A loop at a quarter inch below the surface gets crushed and breaks.
- Loops with splice joints in the saw cut fail within two years. The splice wicks moisture, corrodes, and the loop goes open-circuit. The gate stops responding to cars entirely.
- Loops with inconsistent depth create a consistent but weird problem: a gate that opens fine for a pickup but not a Prius, because the loop sensitivity varies across the coil width.
A proper loop installation includes an inductance meter reading at commissioning, with the installer recording the value on the work order. If your installer can’t tell you what the loop inductance reads, they don’t know if the loop is good. They know it worked when they drove their truck over it. That’s not the same thing.
What Your Written Installation Guarantee Should Actually Cover
Most installation guarantees protect the installer, not the customer. They cover hardware defects for a year and labor for 90 days, or they use vague language about “workmanship” without defining what that means. When your gate derails in month four, you’re suddenly in a fight about whether it was a hardware problem or a workmanship problem, and the installer’s guarantee has an exit ramp for exactly that argument.
Here’s the language to look for, and what it should mean in plain English:
- Specific coverage for different failure types. The guarantee should distinguish between hardware warranty (the manufacturer’s problem) and installation workmanship (the installer’s problem), and it should state clearly which one covers limit switch settings, sensor alignment, and loop function.
- A defined labor period of at least 365 days. Parts fail at install or much later. Commissioning errors fail in months two through five. A 90-day labor guarantee expires precisely when calibration problems start showing up.
- No-charge return visits for covered failures. If the installer set a limit switch wrong, you should not pay a service call fee for them to come back and set it right. The Kingswell way is to put that in writing: our repair guarantee runs 365 days, is stamped on every invoice, and includes a free return visit if the failure falls inside the guarantee period.
- A written commissioning record. The guarantee is only as good as the baseline it’s measured against. If the installer won’t give you the commissioning settings in writing, neither of you can prove what “correct” looked like on install day.
Every Portcullis location is independently owned and operated, but held to the identical Kingswell Guarantee: a written price, a real arrival window, a clean job site, and a written guarantee on every repair. When you see that on paper, you know what failure looks like and who fixes it.
Track Squaring and the Derailed Slide Gate
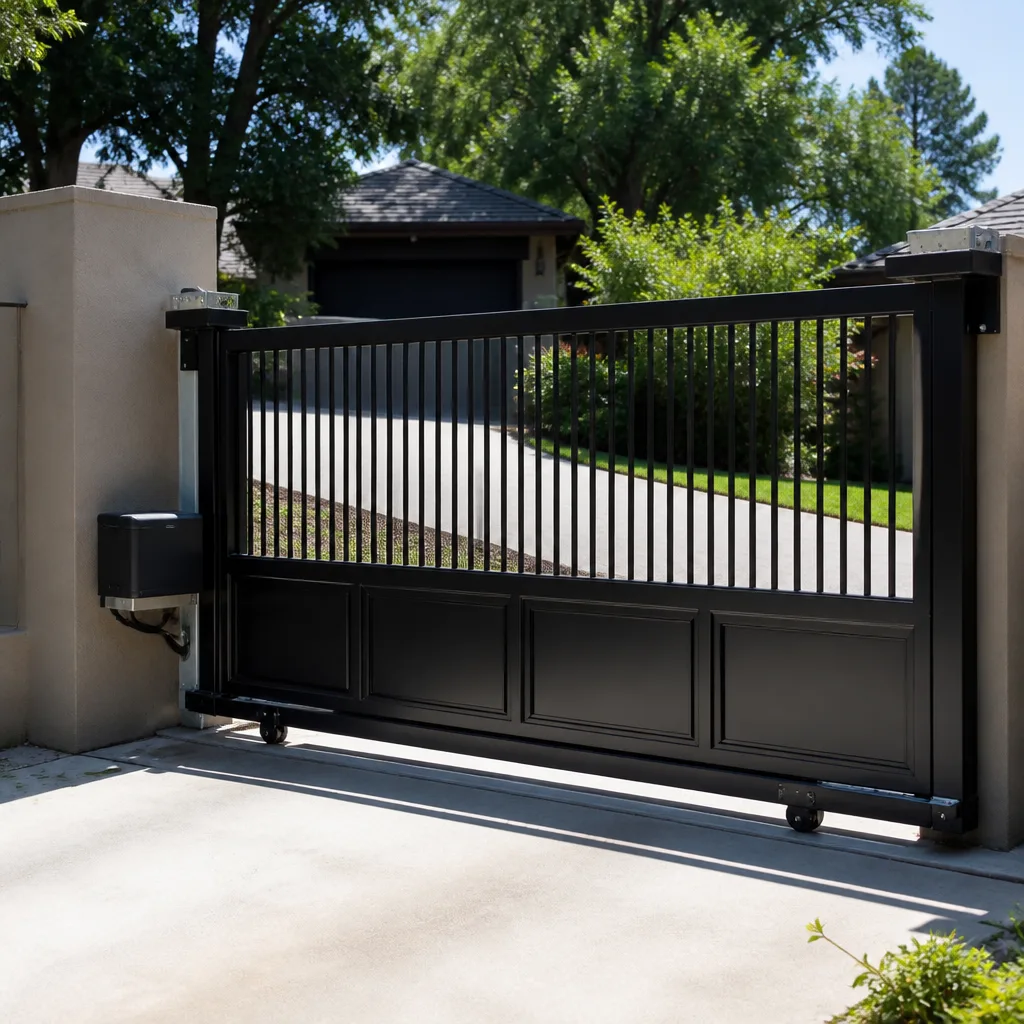
Slide gates run on steel track, either laid on the ground or suspended from a frame, and the gate rolls on a set of truck wheels or guide rollers that keep it on line. The critical install step is squaring the track to the gate’s line of travel. If the track is off by even a quarter inch over a 20-foot run, the wheels scrub against the rail edge on every single cycle. It’s not visible to the eye on day one. It becomes extremely visible the morning the gate jumps off the track.
In Los Angeles, this problem is compounded by soil movement. Hillside neighborhoods like Mount Washington and Baldwin Hills see micro-settling year-round. A concrete pad that was level at install can settle a quarter inch by the following spring. A track bolted to that pad now runs slightly uphill or downhill. The gate derails.
The fix sequence:
- Measure the track width in three places: both ends and the midpoint. The measurement must match the wheel gauge within an eighth of an inch.
- Run a string line along the track rail and check for bow or wave. A track that curves like a banana will throw the gate regardless of how well the posts were set.
- Check the wheel wear pattern. Even wear across the wheel face says the track was square at install. One-sided wear says the wheel was scrubbing from the start.
- Re-square the track, shim the low spots, and re-check the operator chain alignment for the new geometry.
This work is not a five-minute fix, but it is a known, predictable repair. What it is not is something you should attempt on a gate that carries a lot of momentum over your driveway. A derailed slide gate can fall forward if the guide system lets go. Call a pro who has lifted more than one of these back onto the rail.
Common Mistakes to Avoid
- Accepting a “verbal warranty” on the install. If it’s not written down, it doesn’t exist. In Los Angeles, we’ve seen too many homeowners trust a handshake and then discover there’s no paper trail when the gate failed in month three.
- Watching the gate open once and calling it good. One successful cycle proves almost nothing. Ask the installer to run a minimum of ten full cycles and watch every one.
- Ignoring a gate that stops short, just a little. That short stop is a limit switch eating itself. It will not self-correct.
- Buying a replacement operator before checking the wiring. Phantom operator failures are often power or signal problems. Test before you buy.
- Skipping the loop sensitivity test for your second car. If you have a small car and an SUV, test both. Some loops pass one and fail the other.
- Hiring by price alone. The cheapest installer in Los Angeles is often the one who skips the commissioning checklist entirely. The written guarantee is what protects you, not the low bid.
- Putting off a derail repair. A gate that has jumped the track once will do it again, with more damage each time.
When to Call a Professional
Some gate problems are safe to diagnose on your own: noting whether the gate stops short, whether the keypad works intermittently, whether the loop misses small cars. For more guides & resources, visit our blog. The actual repair work on an automated gate is a different category. Motorized gates carry real force, stored energy in capacitors, and a pinch hazard at every joint. If your gate has derailed, if the operator is making a grinding noise, if a safety sensor has failed, or if you’re not certain whether the power is actually off, stop and call someone who does this work every day. Portcullis Gate Repair offers free estimates in Los Angeles. Call (940) 412-7340 and a live person answers, no voicemail tree, no callback queue.
Frequently Asked Questions
A service call to diagnose a gate problem in Los Angeles typically runs $75 to $150, and most reputable companies apply that fee toward the repair if you proceed. See our Gate Repair Cost Breakdown: The Los Angeles Homeowner’s Reference for 2026 for detailed pricing. Recalibration work, like limit switch adjustment or sensor realignment, usually runs $120 to $260. Call (940) 412-7340 for an exact quote on your specific system, estimates are free and the price is in writing before any work starts.
Yes. Portcullis Gate Repair keeps same-day availability for gate failures in Los Angeles, and our phones are answered by a live person around the clock. Call (940) 412-7340 and we’ll give you a real arrival window, not a four-hour shrug.
In most cases, a gate that stops halfway is hitting a limit switch that was mis-set at install, or an obstruction sensor that is reading phantom resistance. The fix is recalibration, not replacement, and it’s usually a same-visit repair.
Commissioning is the final setup and testing sequence after the hardware is installed: limit setting, sensor alignment, loop tuning, obstruction testing, and a full cycle count. A gate that is installed but not commissioned properly will usually fail within the first several months.
Yes. We run the power and control wiring, install and align all safety edges and photo eyes, and test the full system before we leave. Every install in Los Angeles includes a written commissioning record and a written guarantee.
Look for specific language covering limit switches, sensor alignment, and loop function for at least 365 days, with no-charge return visits for covered failures. If the guarantee only covers hardware defects, you’re uncovered for exactly the problems that are most likely to appear.
Need a specific answer for your gate? We answer the phone. Call (940) 412-7340 and ask us anything about your gate, no obligation and no charge for the conversation.
The Bottom Line
Most new gate failures are not factory defects. They are commissioning errors that surface after the installer has left. The difference matters because it determines who pays for the repair and whether the fix is a recalibration or a parts replacement. A properly commissioned gate in Los Angeles should run through years of heat, rain, soil movement, and daily cycles without fighting itself. If yours is stopping short, derailing, or behaving strangely, the fastest resolution is to have a trained tech verify the commissioning settings before you spend money on parts. The Kingswell Guarantee puts that expectation in writing: a written price, a real arrival window, a clean job site, and a written guarantee on every repair, for 365 days, on every job. We’ve built Portcullis Gate Repair home around that standard since 2008, and we’re known across Los Angeles for Gate Repair in Los Angeles, Gate Installation in Los Angeles, and Electric Gate Repair in Los Angeles. If your gate isn’t right, call (940) 412-7340 and ask us to make it right.
Written by Dean Prescott, Owner at Portcullis Gate Repair, serving Los Angeles since 2008.