
Last updated October 8, 2026
Free on-site gate assessment - hinges, posts, and your LiftMaster or Nice gate operator checked before anything is quoted
The assessment is free and the quote is the invoice.
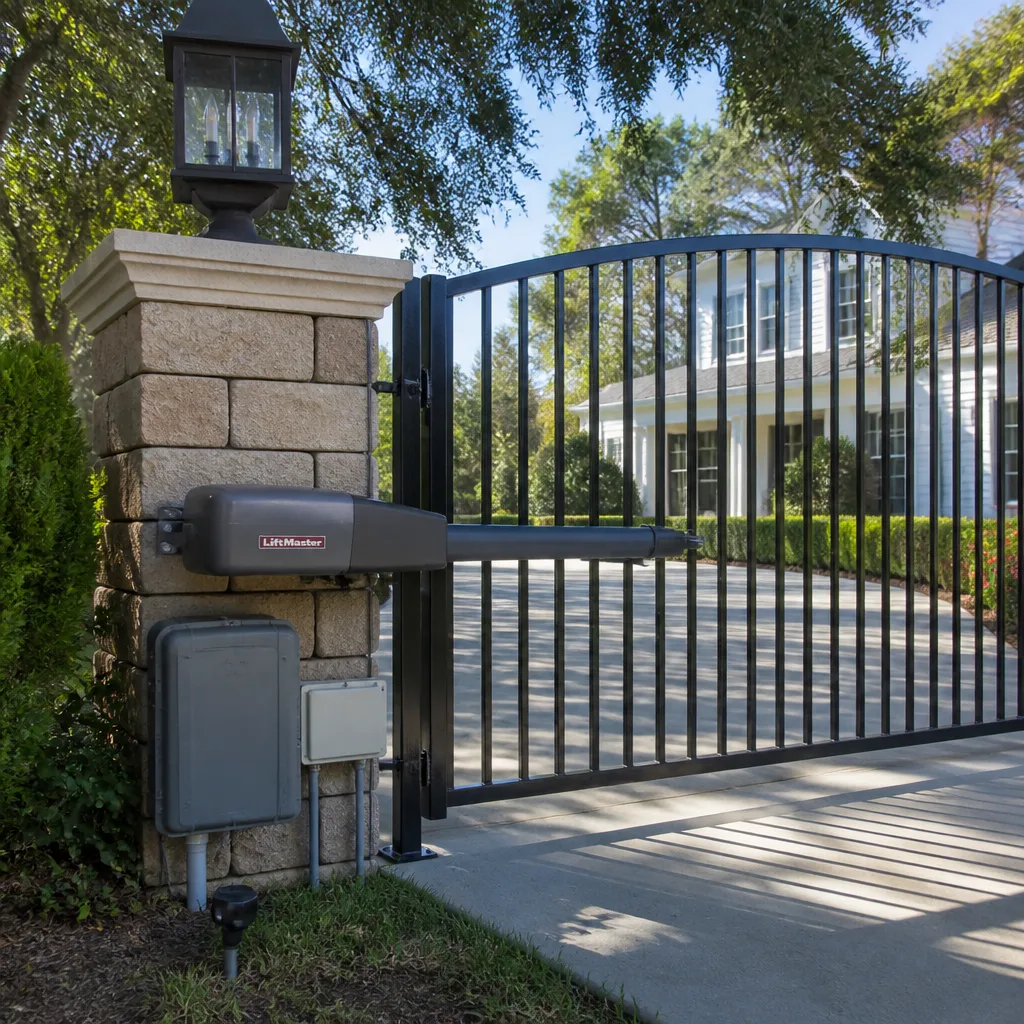
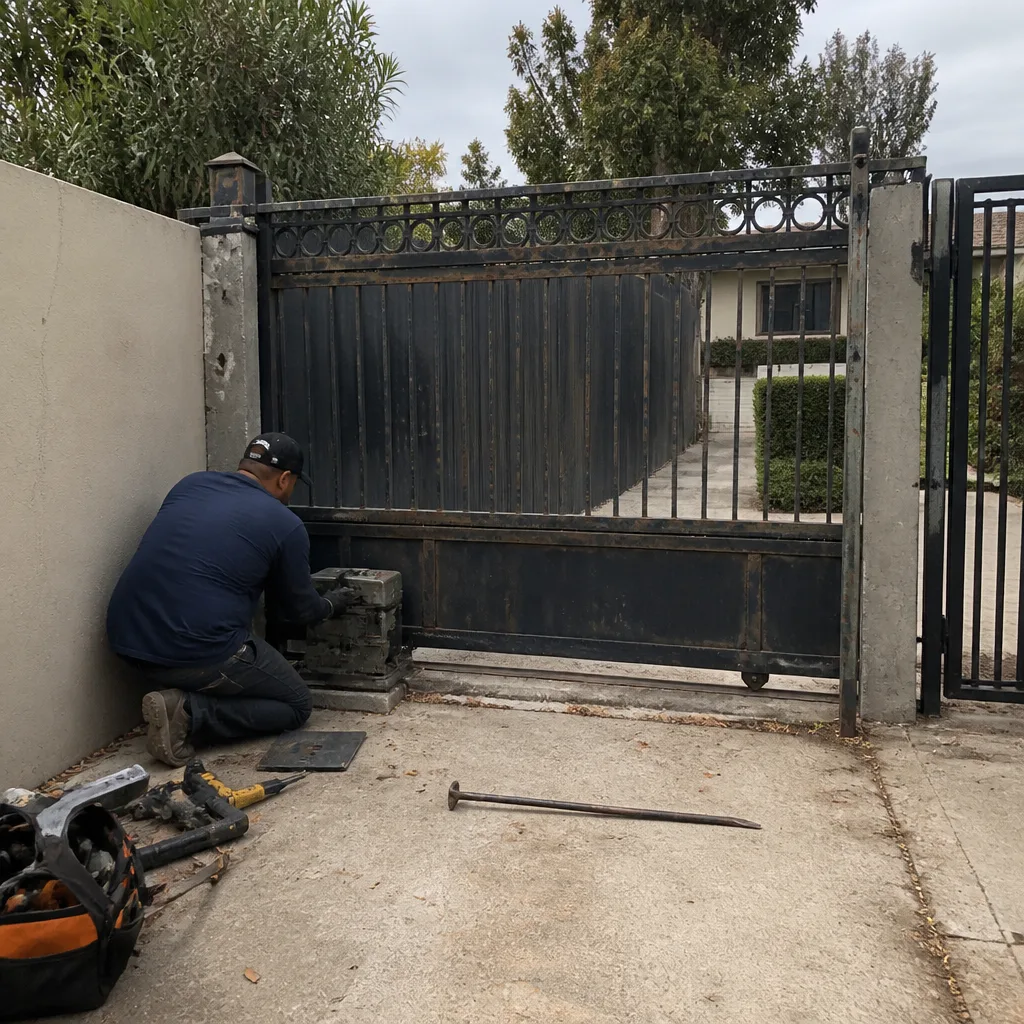 Before
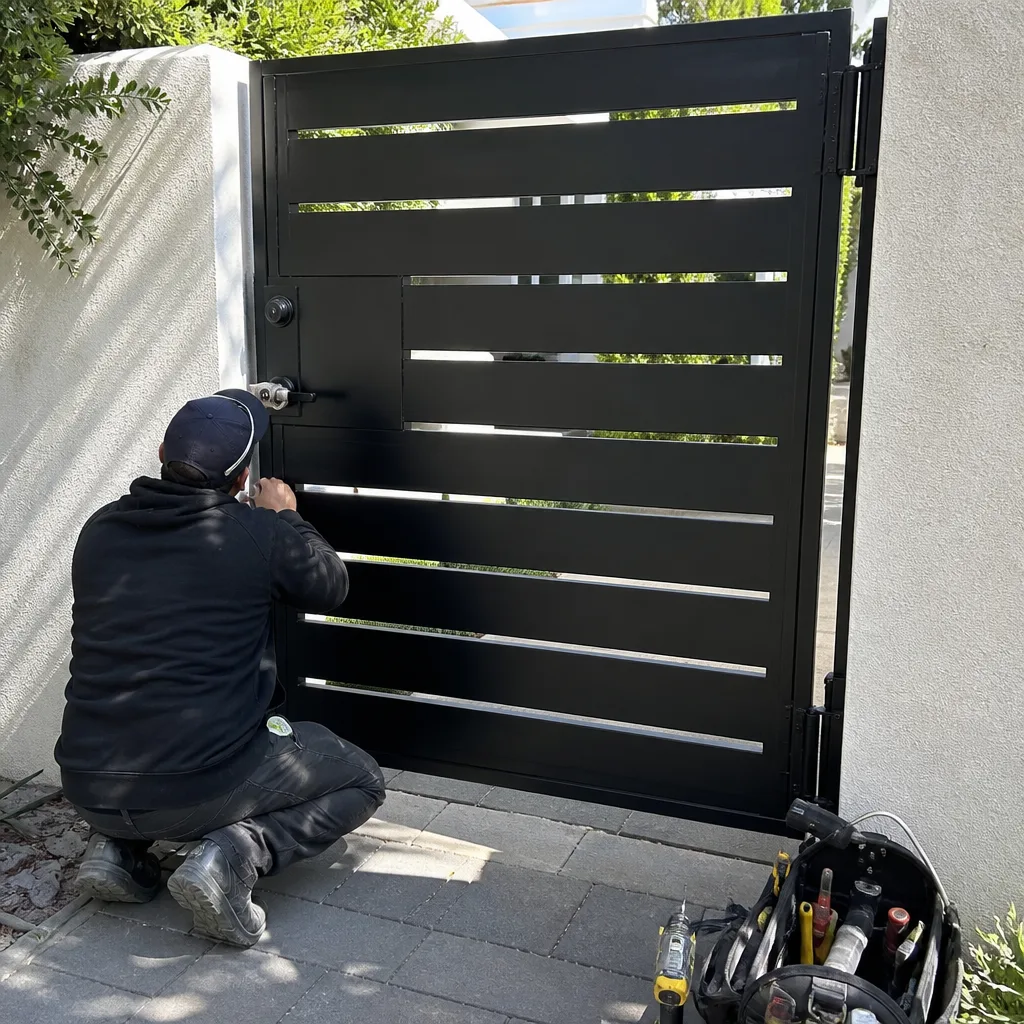 After
After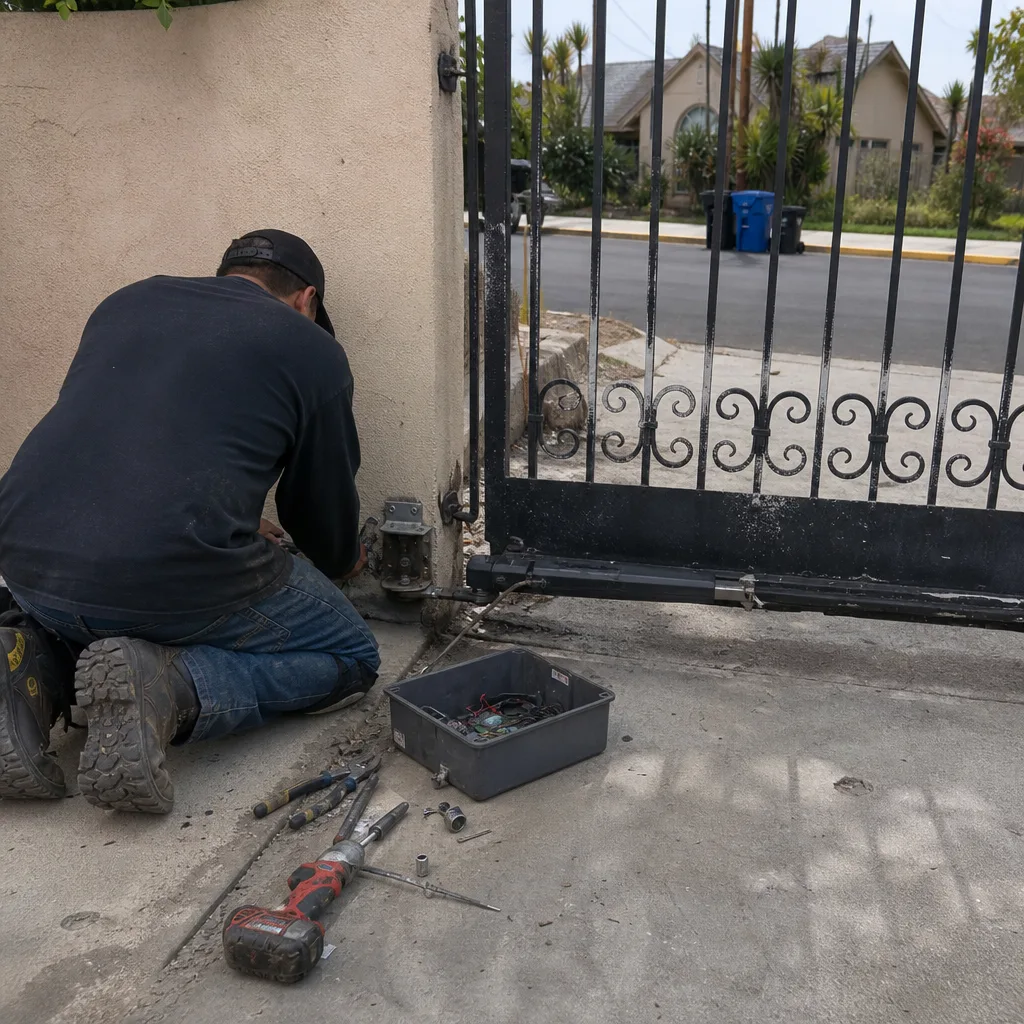 Before
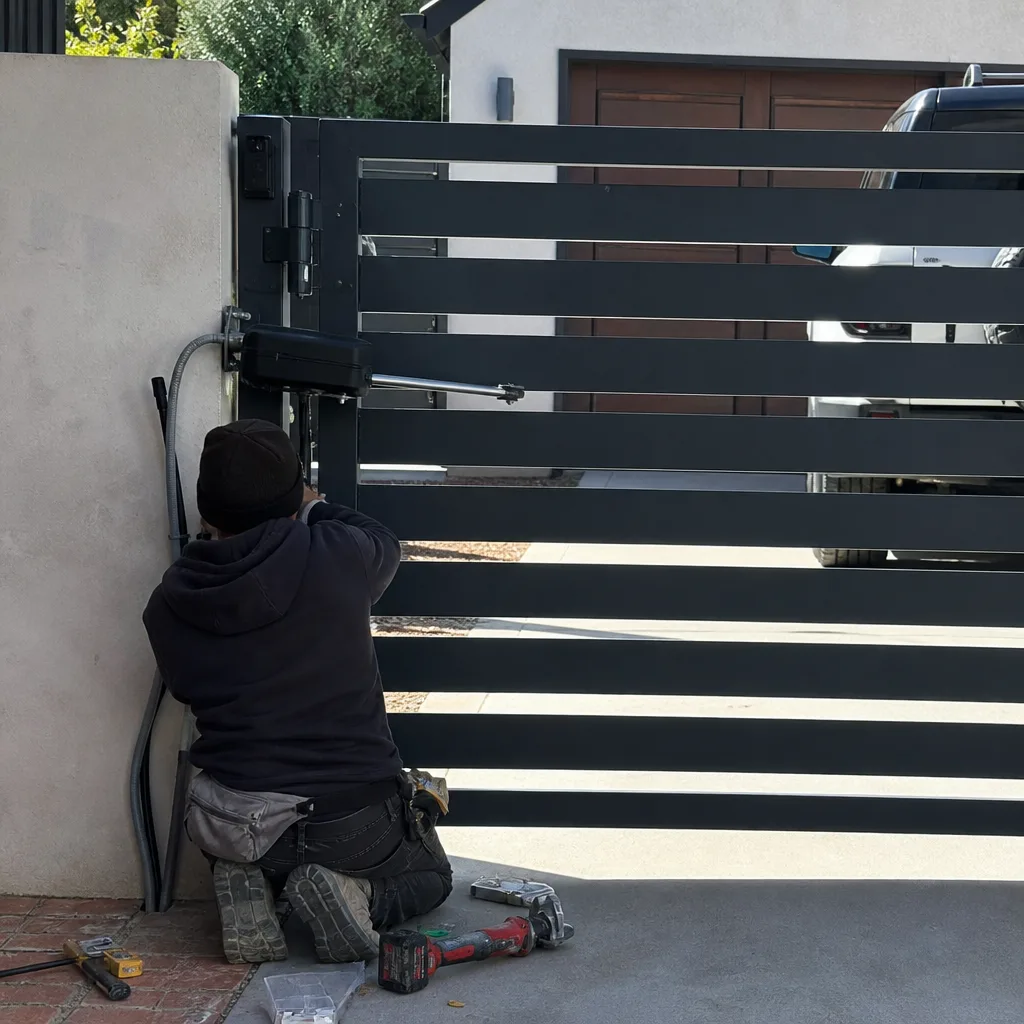 After
After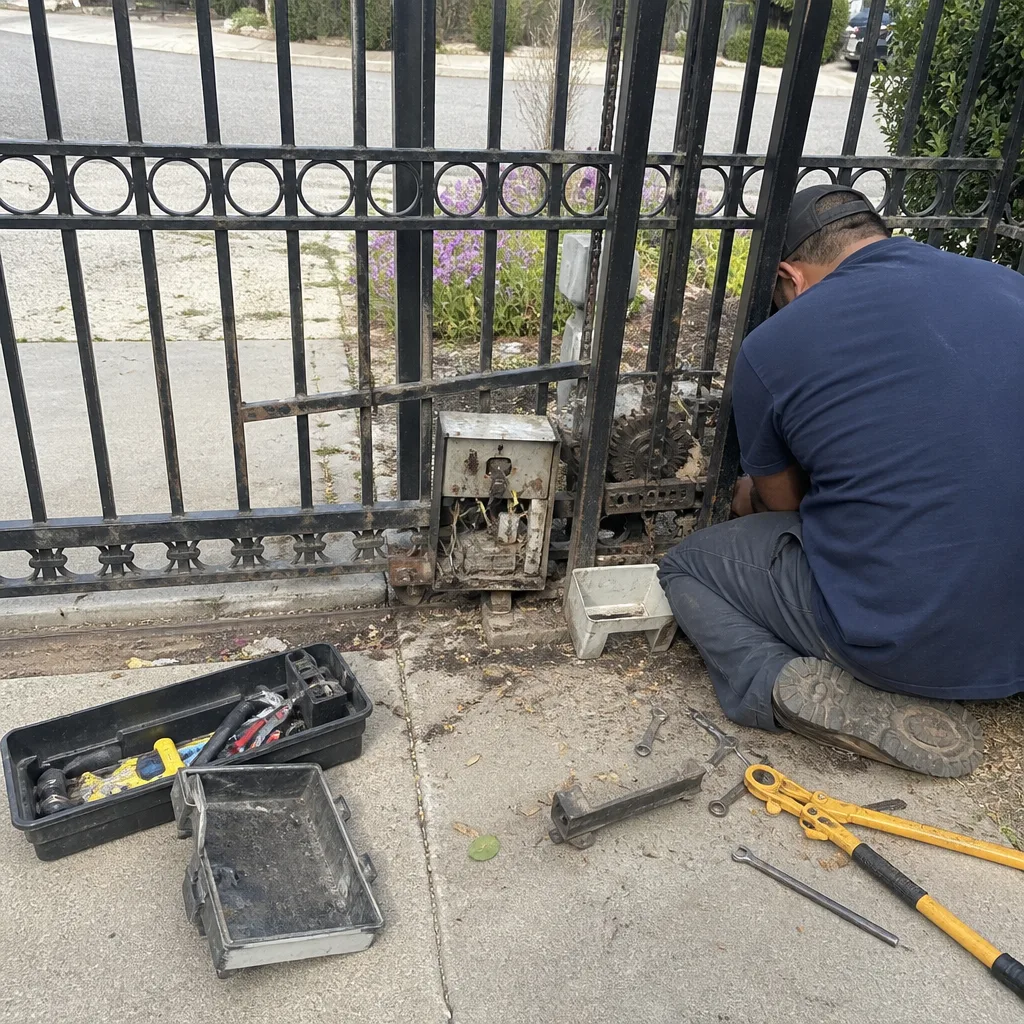 Before
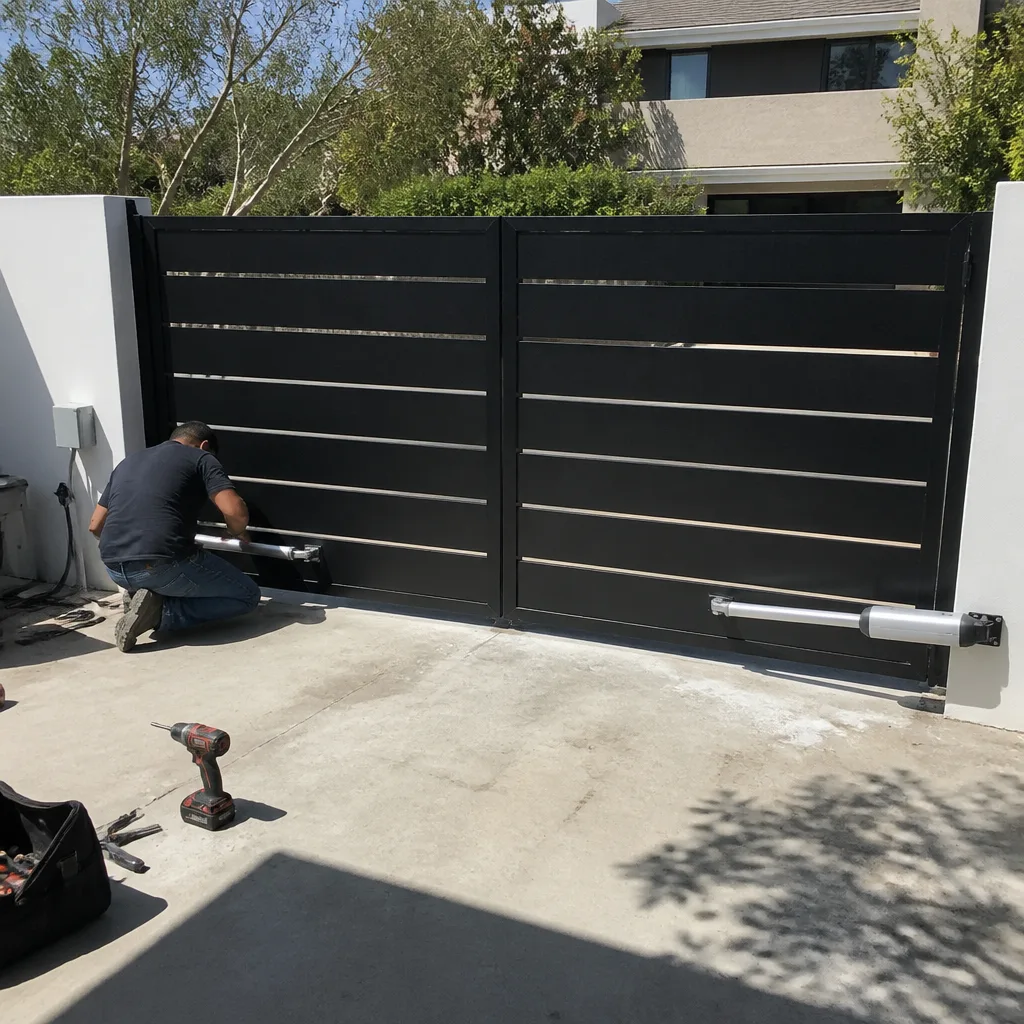 After
AfterGate Installation Warning Signs Every Homeowner Should Know
The most common cause of a gate failing within its first year isn’t the gate itself. It’s a footer poured too shallow for Los Angeles’ expansive clay soil, which shifts with every drought-and-rain cycle. A gate that looked square and smooth on installation day starts binding at the latch, dragging on the ground, or tripping its own safety sensors by March. Homeowners don’t notice because they were never told what to inspect before they signed off. This guide covers what to check before you accept the work, what signals should trigger a conversation with your installer, and which problems will only get worse if left alone. For professional help, explore our Gate Installation services.
Quick Answer
A properly installed gate sits level on day one, has zero post movement when you push it firmly, shows full weld beads (not tack welds), uses weatherproof junction boxes on every outdoor wire connection, and comes with a written price before work starts plus a written guarantee at completion. If your new gate rocks at the post, sags even a quarter inch, has exposed wire nuts, or you never received a written guarantee, you’re looking at installation warning signs that will cost more to fix later than they would have to correct on day one. In Los Angeles, where expansive clay soil and seasonal rain shift the ground beneath gate footers, these early checks matter more than in almost any other market.
Table of Contents
- The Post Rock Test: How Much Movement Is Acceptable
- The Quarter-Inch Sag: Why a Slightly Off-Level Gate Is a Problem
- Wiring Red Flags on Automated Gates: What Should Never Be Exposed
- Weld Quality: What a Proper Weld Looks Like vs. a Tack Weld
- Contract and Documentation Red Flags: Paperwork Tells You More Than the Gate
- Los Angeles Soil, Footers, and Permits: What the Installer Should Have Done
- Sounds and Motion: What a New Gate Should Not Do
The Post Rock Test: How Much Movement Is Acceptable
The single most telling test you can do on a brand-new gate takes ten seconds and requires no tools. Place both hands on the top of a gate post and push forward, then pull back, with moderate force. The acceptable amount of movement is none. Not a little. Not “it’s just settling.” A gate post set in a properly poured concrete footer should feel like it’s bolted to the bedrock. Anything more than the faintest flex in the steel itself means the footer is undersized, improperly cured, or poured too shallow.
In Los Angeles, this test matters more than installers from other regions sometimes understand. The clay soil found across much of LA County expands when it rains and contracts during long dry spells. A footer poured 24 inches deep in stable soil might be adequate in Phoenix. In Los Angeles, where the top 12 to 18 inches of soil actively shift with every winter rain, a footer needs to go below that movement zone. We’ve seen posts set on footers just 12 inches deep that passed the rock test in October and failed it by February. The rain did not cause a defect. The footer was too shallow from day one.
How to do the post rock test properly
- Stand beside the post, not the gate leaf. Your hands go on the post itself, near the top.
- Push firmly, then pull back. Use about 30 pounds of force. That is more than a nudge, less than your full body weight.
- Rock the gate open a few inches and watch the post at the hinge. If the gap between the post and the gate leaf changes by even an eighth of an inch as the gate moves, the post is flexing under load.
- Repeat on the latch-side post. This one takes impact every time the gate closes. Weakness here shows as a gate that bounces rather than stops.
- Walk to the other side and look for hairline cracks in the concrete around the base of the post. Cracks that appear within days of the pour are a sign the concrete was mixed wet to make it easy to work, or the post was wiggled while the concrete set.
One caveat: this test tells you about the current state, not what the installer intended. A post that rocks because the footer is still curing (concrete takes 28 days to reach full strength under ideal conditions) can stabilize. A post that rocks because the hole was 18 inches deep when it should have been 30 inches deep will not. Ask for the hole depth in writing before the concrete is poured. A reputable installer will write it down without hesitation.
The Quarter-Inch Sag: Why a Slightly Off-Level Gate Is a Problem
A level gate leaf should sit perfectly horizontal across its full length on installation day. Run your eye along the top rail from hinge to latch. Then crouch down and check the bottom rail the same way. You are looking for any visible gap or slant. On a standard 12-foot driveway gate, even a 1/4-inch sag at the latch-end of a heavy iron gate is a signal. It tells you the hinges are undersized for the load, the post is already drifting out of plumb, or the gate frame was welded slightly out of square and then forced into position.
Here’s why a small sag should not be dismissed: gate problems are mechanical, and every millimeter of misalignment adds to the strain on every other component. A 1/4-inch sag on a 400-pound iron gate multiplies the lateral force the hinges experience every single time the gate swings. That force transfers to the post. The post, if marginal, leans a little. The gate sags a little more. Three months later, the automatic opener is fighting the extra resistance, the safety sensors are misaligned, and the motor is burning out. The original 1/4-inch sag was the first domino.
For automated gates specifically, the tolerance is even tighter. A Los Angeles electric gate repair call often starts as a gate that simply quit one morning. The cause, in a meaningful percentage of those jobs, traces back to an alignment problem the installer should have addressed on day one. Operators like BFT and Linear motors tolerate some resistance variance, but they are not designed to overcome a perpetually binding gate. The current draw goes up, the thermal overload trips, and the homeowner is left with a gate that needs to be manually pushed open.
What to check at installation
- The top rail should read as perfectly horizontal to a bare eye, not just a level.
- The gap between the gate and the ground should be consistent along its length. A 2-inch gap at the hinge narrowing to 1/2 inch at the latch means the gate is sagging toward the latch side.
- Open the gate to its full swing and let go. It should coast smoothly to a stop, not dip or lunge.
- Close the gate and look at the strike plate. The latch bolt should center into the strike. Contact on one edge only means the gate shifted during installation or after the post was set.
If any of these checks fail, you have a documented reason to ask the installer to correct the alignment before you accept the job. Doing it later means paying a second time.
Wiring Red Flags on Automated Gates: What Should Never Be Exposed
Automated gate wiring failures are the most avoidable problems we see in Los Angeles, and they are almost always visible on installation day if you know what to look for. An automated gate runs on low-voltage DC wiring between the operator, the safety sensors, the keypad, and the power source. Every connection point in that system has to be protected from water, sunlight, and the occasional gardener with a weed trimmer. When installers cut corners on wiring, the gate works fine on day one. Six months later, after a rainstorm or a hot stretch that degrades the wire insulation, the gate stops responding, the sensors fault, or worst case, the gate closes on a car because a sensor wire corroded.
Here’s what should never be present on a newly installed automated gate:
- Wire nuts used outdoors without a weatherproof junction box. Wire nuts twist conductors together and leave them exposed to air. They are an indoor solution. Outdoors, the connection must be inside a sealed junction box rated for wet locations. If you see a wire nut wrapped in electrical tape, that’s a shortcut, not a repair.
- Exposed conduit runs across the ground. Any wire that carries power or sensor signal should be inside conduit. If it runs along the ground where a car tire or mower blade can find it, that conduit should be buried or secured along a post or fence line. Loose conduit on the ground is a failure waiting for the first heavy object dropped on it.
- No drip loop at the operator. A drip loop is a simple U-shaped bend in the wire before it enters the operator housing. Water that runs down the wire hits the bottom of the loop and drips off instead of following the wire inside the motor. Its absence is the difference between an operator that lasts a decade and one that shorts out after the first winter rain. This is the repair we see most often after the first set of storms each year, and it is entirely preventable.
- Sensor wires run through the gate’s hinge point. Safety sensors and their wires should never pass through the moving hinge line unless they are protected by a dedicated armored channel or flexible conduit designed for repeated flexing. Plain wire zip-tied near a hinge flexes thousands of times a year and eventually breaks internally.
What to check at installation
- Walk the full length of the gate’s wire runs. Every connection should be inside a closed box.
- Look at the operator’s wiring entry point. The wires should make a U-shape below the entry, not enter straight in or from above.
- Check that all low-voltage wire is either buried below ground or run through rigid conduit. No bare wire, no tape-wrapped splices.
- Ask where the safety sensors are wired. The answer should mention weatherproof junction boxes, not wire nuts.
If the installer seems surprised you’re asking, that’s useful information. In our experience, the companies that do clean, code-compliant wiring work are happy to show it off. The ones that leave a trail of taped splices behind the post are the same ones that won’t answer when the gate stops working in February.
Weld Quality: What a Proper Weld Looks Like vs. a Tack Weld
You don’t need to be a welder to spot a rush job. A proper weld on a steel or iron gate has a few characteristics you can identify by eye from a few feet away. It should be continuous along the joint, meaning the weld bead runs the full length of the seam where two pieces of metal meet. It should have a slight raised appearance, like a tight row of overlapping scales or stacked coins. It should not look like a series of spaced-apart dots. Those dots are tack welds.
A tack weld is exactly what it sounds like: a small, short weld placed to temporarily hold pieces together while the real welding is done. Tacks are a normal part of gate fabrication. The problem comes when tacks are left as the only connections holding a hinge plate to a post, or a picket to a rail. A tack weld has a fraction of the strength of a full bead. Under repeated load, each tack acts as a stress concentration point where cracks start. A tacked hinge plate on a heavy driveway gate will eventually tear free, and it will do so while the gate is swinging, which is the most dangerous possible moment.
What to look for
- Full bead welds where the hinge plate meets the gate frame. The weld should wrap around the visible edges, not spot across the middle.
- Continuous welds on the gate frame corners. You should not be able to see daylight through the joints.
- No sharp spatter balls attached around the weld area. Spatter is a normal byproduct of welding, but good fabricators grind or brush it off. A frame covered in spatter suggests speed over finish.
- Hinge barrels welded to the post or the gate leaf over their full length, not tacked at two points.
- Pickets welded to both horizontal rails, not just the top rail. A picket welded only at the top will rattle and eventually crack at the bottom.
For welded steel gates in Los Angeles, the climate is actually forgiving compared to coastal or snow-belt environments. The issue here isn’t rust from salt air. It’s heat. Thin, rushed welds on dark-painted steel expand and contract through 40-degree temperature swings between August nights and November days. Over two or three years, those thermal cycles work on every incomplete weld. The crack that appears isn’t a random failure. It was scheduled the day the gate was installed.
If you can, photograph the welds on installation day. Not every homeowner can judge weld penetration by eye, but you can compare the welds to the photos later if a crack appears, and you can show the photos to a Los Angeles gate repair specialist if you want a second opinion before the installer has driven away with your payment.
Contract and Documentation Red Flags: Paperwork Tells You More Than the Gate
Some of the most important gate installation warning signs have nothing to do with the physical gate at all. They show up before the work starts, in the contract and in what the installer is willing to commit to in writing. A gate installation is a significant investment in Los Angeles, regularly running $6,500 to $18,000 for a custom automated driveway gate with operator, safety sensors, and access controls. You’re not buying a gate. You’re buying the documented contract, the permit, and the written guarantee that come with it. Companies that are vague on any of these three points are telling you in advance how the relationship will go.
Red flag 1: No written price before work begins
If an installer cannot commit to a written price before the first day of work, do not let them on your property. That applies to every job, from a swing-gate actuator swap to a full custom installation. A verbal estimate is not a price. A range that widens after the old gate is removed is not a price. The Kingswell Guarantee, which every Portcullis Gate Repair home location operates under, starts with this exact point: the price is written down and agreed before any work begins, and it does not change because the job got more complicated once the digging started. In the gate trade, the company that can’t write the price down is the company that plans to find the price as they go, and you’re the one who funds the discovery.
Red flag 2: No permit pulled for an automated gate
Automated gates in the city of Los Angeles require a permit when they include an operator and safety devices. This is a life-safety issue, not a bureaucratic one. The city specifies that automated gates must include specific safety features: a reversing mechanism, photoelectric sensors positioned to detect obstructions, and in some configurations, contact edges that reverse the gate if it encounters an object. The permit process exists to make sure those features are installed and tested before the gate is put into service. A company that installs an automated gate without a permit is telling you they are comfortable skipping the safety verification step. We’ve never seen that decision age well, and more practically, the unpermitted work affects your property insurance and any future sale of the house. Ask directly during the estimate: “Will you be pulling a permit for this automated gate?” A straightforward company answers yes without a pause.
Red flag 3: No written guarantee offered at completion
Every gate installation should end with a written guarantee that states what is covered, for how long, and what happens if the repair fails. “We stand behind our work” is a nice thing to say. A written guarantee is a legal thing to have. At Portcullis, every installation includes the 365-Day Done Right Promise: if the work isn’t done correctly, the crew comes back and corrects it at no charge within the guarantee period. The guarantee is printed on the invoice. That piece of paper matters more than any verbal assurance the day after your gate starts making a new noise, because you can hold it up and the company has to answer. Dean Prescott has operated this Kingswell location since 2008, and the written guarantee has always been the same: what it says is what gets done.
The three documents to request in writing before work starts: the signed proposal with the full price, a copy of the permit application or the permit number, and the written guarantee terms. If any of the three is missing, ask why before you sign anything else.
Los Angeles Soil, Footers, and Permits: What the Installer Should Have Done
Los Angeles sits on some of the most reactive soil in the United States. The clay that underlies much of the city, from the San Fernando Valley through the mid-Wilshire corridor down to the South Bay, expands significantly when wet and shrinks when dry. A driveway gate posts are essentially small foundations, and they behave like any other foundation when the soil beneath them moves. The difference is that a house shows damage slowly, with hairline cracks and sticky doors. A gate shows damage suddenly, when the latch no longer lines up, the gate drags on the concrete, or the operator’s gearbox strips because it’s been fighting the misalignment.
A properly installed gate footer in Los Angeles accounts for this. It is dug below the active soil zone, typically 30 to 42 inches deep for a standard driveway gate post, and the concrete is poured with the post set in place, not after the hole is partially backfilled. Rebar is placed to anchor the post, and the concrete is allowed to set for a minimum of 24 to 48 hours before the gate leaf is hung. If the installer wants to hang the gate the same day the concrete is poured, that’s a warning sign. The concrete may not have reached sufficient curing strength, and the post is likely to shift out of plumb as the gate’s weight settles onto it.
What the permit process covers
The city of Los Angeles permit for an automated gate touches more than the electrical work. The plan check reviews the gate’s safety features: photoelectric sensors, reverse-on-contact systems, and the operator’s entrapment protection. The inspection confirms the equipment installed matches the plan. When a company skips the permit, the safety verification step is skipped along with it, and the homeowner may not know until the gate fails to reverse on a child or a pet. That’s the conversation no written guarantee can make right after the fact. Every automated gate installation we complete in Los Angeles carries a permit when one is required, and the Kingswell Guarantee holds us to the same standard on every job: written price, real arrival window, clean job site, and written guarantee on the repair.
If your installer says a permit isn’t necessary for your automated gate, call the Los Angeles Department of Building and Safety and ask directly. The answer depends on the specific operator type, the gate’s location, and the year it was installed. Don’t take the installer’s word as the final one, especially if the installer also can’t produce a written price.
Sounds and Motion: What a New Gate Should Not Do
A properly installed gate has a mechanical vocabulary of its own, and on day one, most of that vocabulary should be silence and smooth motion. What follows are the sounds and movements a new gate should never make, along with what each one actually means.
A scraping or grinding noise as the gate moves means metal is contacting metal or the gate is dragging on the ground. Gate hinges should be greased and quiet. A grind usually comes from a chain-drive operator that isn’t tensioned correctly, or from a gate leaf that has settled and is now dragging across the driveway. On a cast-iron or fabricated steel gate, a grind is the sound of weight being supported by a hinge it wasn’t designed to carry.
A thump or rattle when the gate reaches its fully open position means the open-limit switch isn’t set correctly or the gate is slamming into the stop. Every time that happens, the shock load travels through the gate frame, into the hinge plates, and into the operator’s gearbox. Over hundreds of cycles, that repetitive impact works bolts loose and cracks welds. The installer should have set the open and close limits on installation day and demonstrated both.
A rhythmic clicking from the operator area as the gate moves is often the sound of a chain or belt catching, or a gear with a missing tooth. On operators from brands like Ghost Controls and Viking, a clean-running system should be nearly silent aside from the motor hum. Clicking means something is already misaligned or a component was damaged during installation.
A gate that jerks or stutters on startup, rather than accelerating smoothly, can indicate voltage drop on a long wire run, an undersized wire gauge for the distance, or a binding gate that is fighting the operator from the first inch of travel. The controls and power supply should be checked, not assumed to be fine because the gate eventually reaches the fully open position.
And then there’s the one signal few homeowners mention because they think it’s normal: a gate that shudders as it closes and then sits with the leaf slightly out of alignment. That’s the latch-side post deflecting under the closing force. We see this on installations where the post was set in an undersized footer adjacent to an existing concrete apron. The concrete edge acts like a fulcrum, and the post flexes every time the gate latches. It feels stable when you push it by hand, because you’re not applying the same force the gate applies at speed. Over a year, the deflection increases until the latch won’t catch at all.
The rule we give to every homeowner after a new gate installation goes like this: stand beside the gate, close your eyes, and listen. If something sounds like it’s working, ask the installer to make it stop. A new gate should not sound like it’s working. It should sound like it’s already done.
Common Mistakes to Avoid
- Paying the final invoice before doing the post rock test. Once the check clears, your leverage disappears. Spend five minutes on the rock test and the sag check before the installer leaves. If they can’t stay five minutes, that’s a red flag of its own.
- Accepting “it’ll settle” as an explanation for a visible sag. Gates do not settle into alignment. They settle out of it. A sag that’s present on day one is a sag that will be worse on day 180, and the installer who says otherwise is banking on you not calling back.
- Skipping the permit because the installer says it isn’t required. Always verify with the city of Los Angeles directly. The cost of retroactive permitting and re-inspection far exceeds the upfront permit fee. More importantly, the permit is what triggers the safety feature verification.
- Not photographing the installation before final payment. Weld beads, wire runs, post bases, the operator model plate. If a question comes up later, your photos are the record. If a company resists being photographed, ask why.
- Choosing a gate based on the gate alone, not the footer details. The post footers are the foundation of the whole system. In Los Angeles clay, the footer depth and diameter matter more than the gate’s gauge of steel. Ask for footer specs in writing.
- Ignoring the wiring work because it’s “behind the scenes.” The wiring is the first system to fail on a poorly installed gate. Walk the wire runs before the trench is closed and look at every junction. If you see wire nuts, tape, or exposed conductor, stop the job before it’s buried.
- Assuming a higher quote always means better work. Price doesn’t correlate with quality in the gate trade, especially in a market as large as Los Angeles. It correlates with the company’s overhead and their willingness to write the price down. The written price and the written guarantee are what protect you, not the size of the number.
When to Call a Professional
Some gate installation issues are visible and safe to document. Others require a professional to diagnose and correct before the gate can be trusted. Call a technician if your new gate is making a grinding noise on every cycle, if the post rock test shows movement at the top after concrete has cured, if the operator’s thermal overload trips more than once in a month, if the safety sensors don’t consistently reverse the gate, or if you’ve found exposed wiring or tack welds on a gate you paid to have fully installed. These aren’t cosmetic issues, and they won’t improve with time. Portcullis Gate Repair offers free estimates in Los Angeles, and our team includes technicians with certified service experience across major gate-operator brands, including BFT, Linear, and Ghost Controls. For Gate Repair Emergency Preparedness Guide for Los Angeles Homes and other topics, see our blog. Every visit comes with a written price before any work begins and the same Kingswell Guarantee on the repair. Call us at (940) 412-7340 if something about your new gate doesn’t feel right. If it’s not right, we’ll tell you what needs to change and exactly what it will cost before we touch a single bolt.
Frequently Asked Questions
Fixing a sagging gate in Los Angeles typically costs $285 to $750 depending on whether the hinge plates need to be repositioned, the post needs to be reset, or the sag is caused by a stripped hinge pin. If the issue is a settling post related to an undersized footer, the repair often involves excavating and re-pouring the footer, which can run $900 to $1,800. At Portcullis Gate Repair, the price is written down before any work starts, so you’ll know the exact figure before we begin. See our Gate Repair Cost Breakdown: The Los Angeles Homeowner’s Reference for 2026 for typical pricing details. Call (940) 412-7340 for a free estimate.
In most cases, you cannot confirm footer depth without excavating or reviewing the installation record, but you can identify warning signs through the post rock test and by checking for hairline cracks radiating from the post base. A post that flexes under 30 pounds of hand pressure at the top, especially after the concrete has cured for a month, almost always points to a footer that is too shallow or too narrow for the gate’s weight and the local soil. In Los Angeles, where clay soil movement is a factor every winter, the standard footer depth for a driveway gate post is deeper than many installers assume, and asking for the hole depth before the pour is the simplest way to protect yourself.
A written gate installation guarantee should state exactly what is covered, how long it lasts, what the company will do if the repair fails, and whether a return visit is included at no charge. At Portcullis, the 365-Day Done Right Promise covers the installation for a full year: if the repair or the work is not done right, we come back and fix it at no cost within that period, including a free second visit. The guarantee is printed on the invoice, and it’s part of the Kingswell Guarantee that governs every Los Angeles gate installation we complete.
Automated gate installations in Los Angeles generally require an electrical permit and are subject to safety device requirements, including photoelectric sensors and entrapment protection. The city of Los Angeles reviews automated gate plans for compliance with safety standards before issuing the permit. An installer who tells you a permit isn’t required should be asked to confirm that in writing, and the homeowner should verify with LADBS directly. The permit is what ensures the safety features are actually verified, not just installed and left to chance.
A typical single-leaf automated gate installation in Los Angeles takes two to three working days when the existing posts are sound and the footer work is straightforward. Custom welded gates, new post footers, and access control systems add time, as does waiting for concrete to cure. The important number isn’t the schedule, it’s the written price and written guarantee that accompany the work. A company that needs to rush through a job to hit a schedule number is a company that will leave tack welds and exposed wire nuts behind.
The most common mistake we see is a footer poured too shallow for the clay soil, followed closely by wiring work that uses indoor connection methods outdoors. Both failures are invisible on installation day if you don’t know what to check, and both show up within the first year, usually after the first sustained rain. The fix for each one, after the warranty conversation has already gone cold, costs more than doing it right the first time. That’s why we check post movement before signoff, and why our written guarantee covers the fix if something goes wrong anyway. Visit our blog for more guides & resources on gate maintenance and installation. Call (940) 412-7340 and we’ll walk you through what to check on your own gate installation.
The Bottom Line
A gate installation is only as good as the concrete below it, the welds in the frame, the wiring in the connections, and the paperwork in your file. In Los Angeles, where the soil moves, the sun bakes, and the permitting process exists for life-safety, the difference between a ten-year gate and a six-month problem is visible from the moment the installer finishes. Push the posts. Check the level. Walk the wire runs. Look at the welds. Ask for the permit and the written guarantee. If every one of those checks comes back clean, you have a gate that will serve you through a decade of rainy seasons and summer heat. If one of them fails, you have a company that needs to fix it before it becomes a bigger repair. The time to inspect is not when the warranty has expired. It’s the day the gate goes in.
Written by Dean Prescott, Owner at Portcullis Gate Repair, serving Los Angeles since 2008.