
Last updated October 8, 2026
Free on-site gate assessment - hinges, posts, and your LiftMaster or Nice gate operator checked before anything is quoted
The assessment is free and the quote is the invoice.
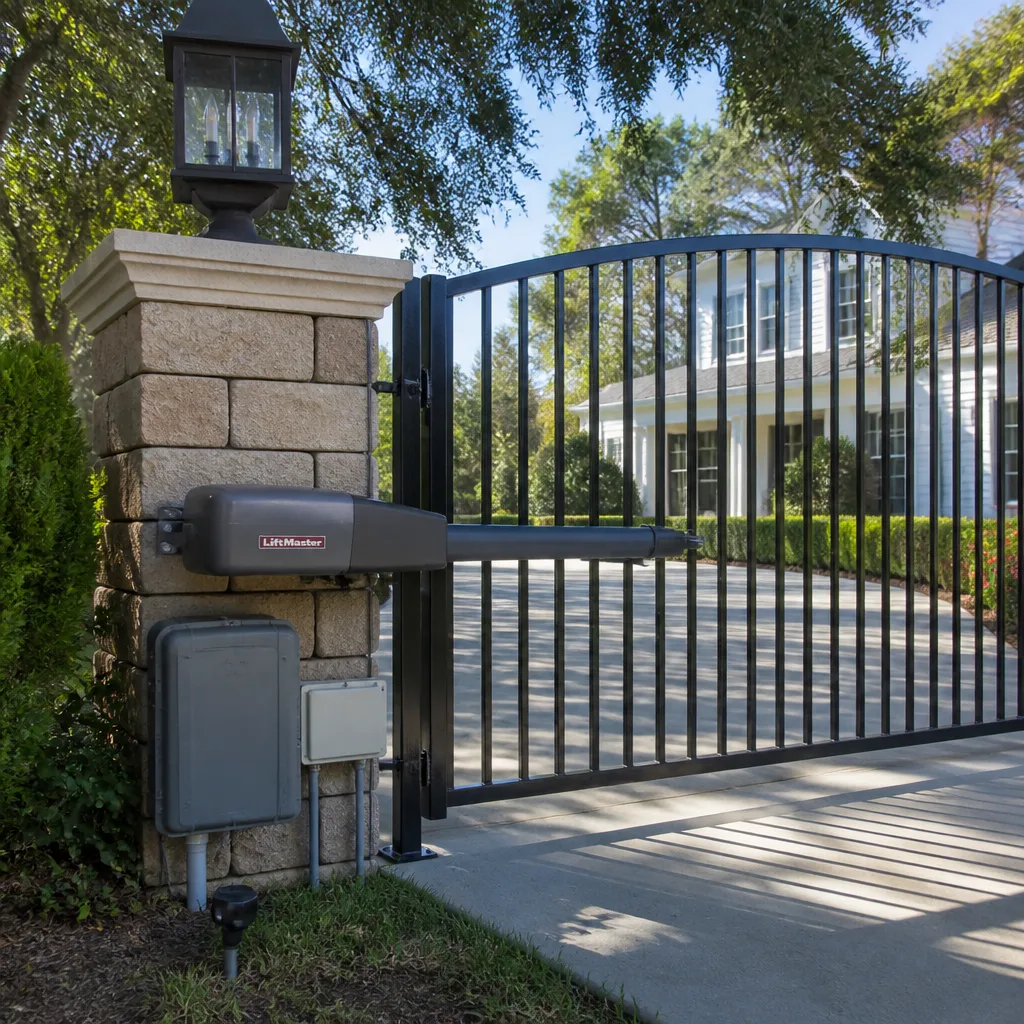
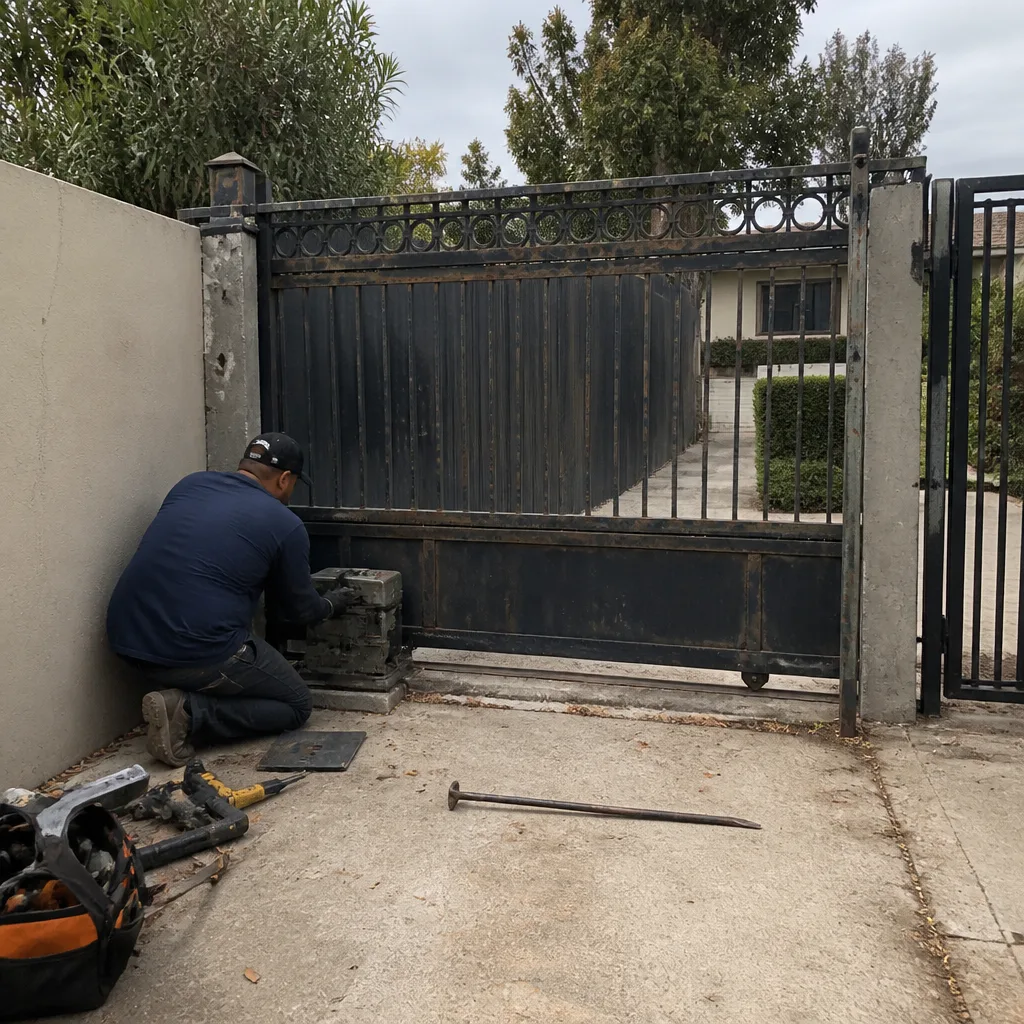 Before
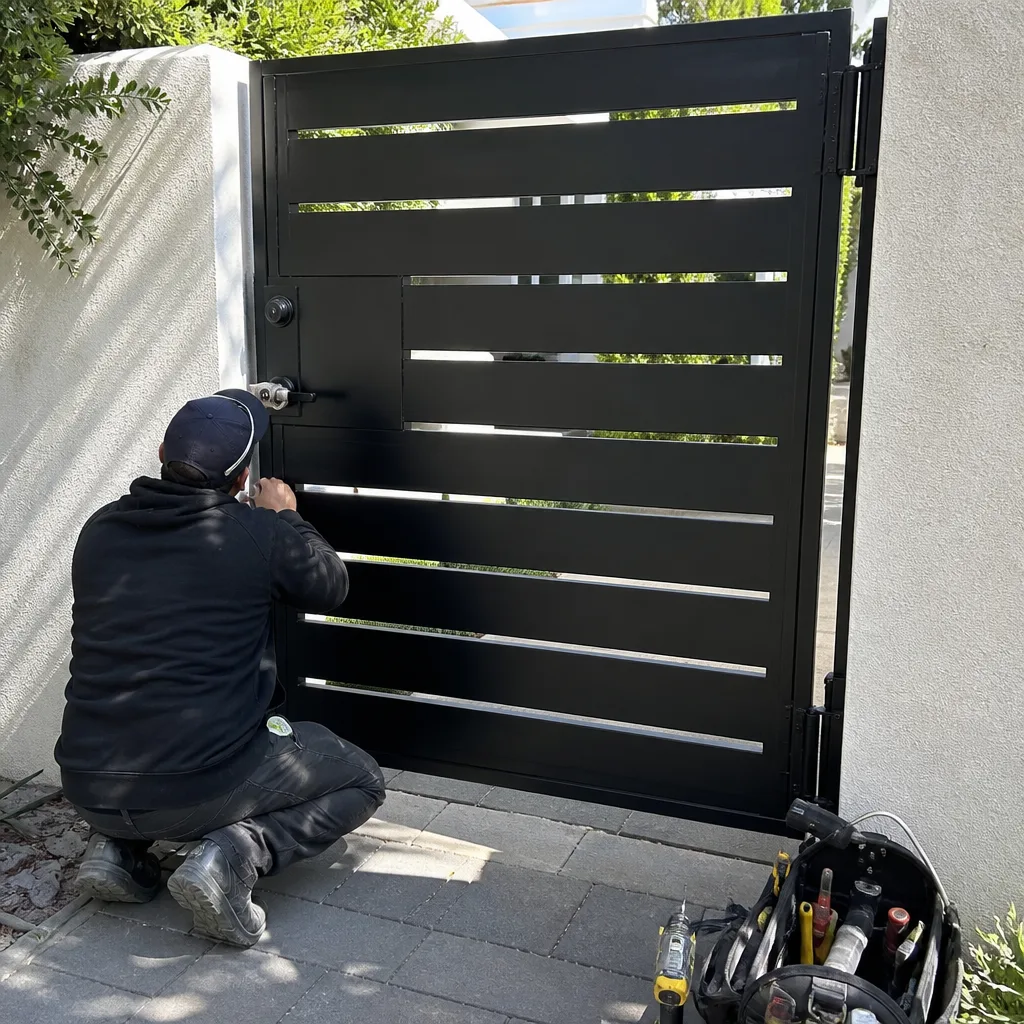 After
After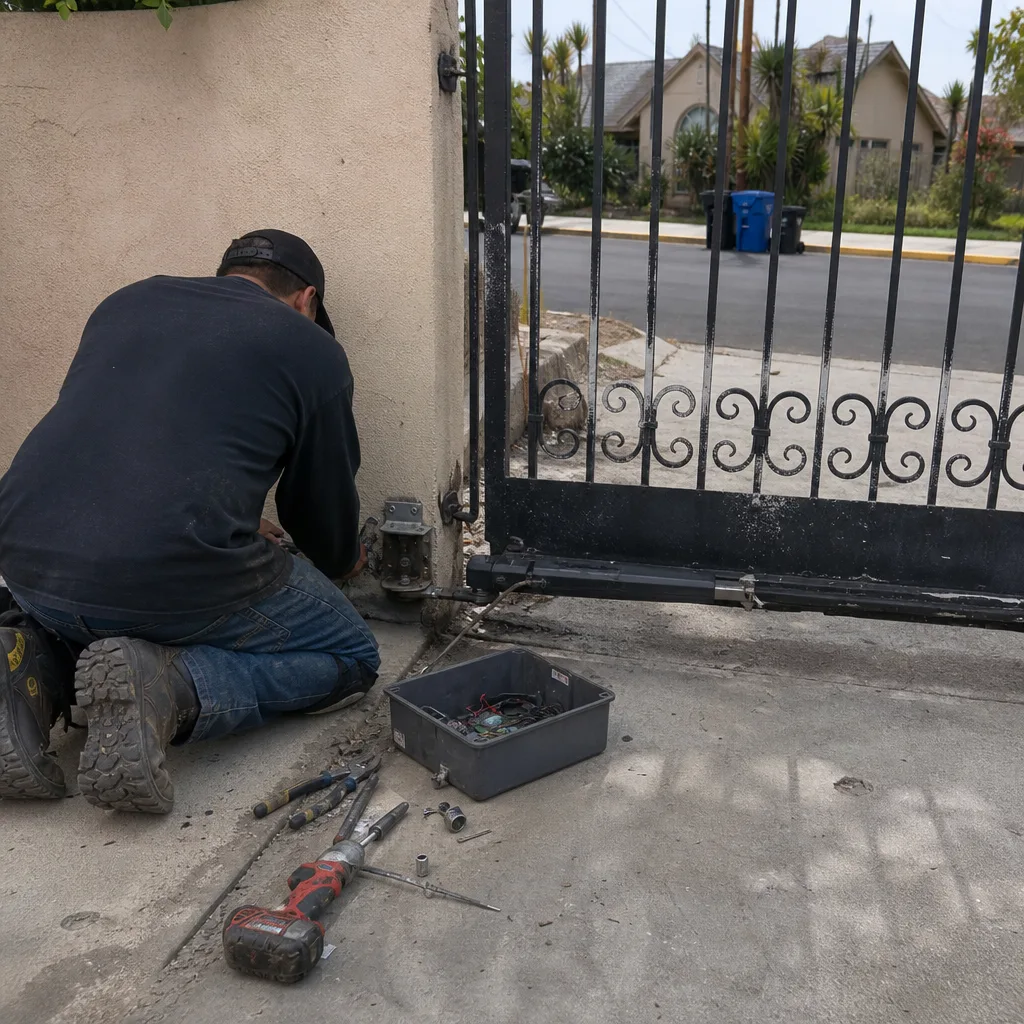 Before
 After
After Before
 After
AfterGate Installation Maintenance Schedule: What to Do and When
Most maintenance guides assume your gate is already a few years old. But the 30-day and 90-day checks after a new installation are the most important ones you’ll ever do, and almost no installer tells you what they are. Concrete is still curing. Hardware is seating under load. Operator limits drift as components break in. If you skip those first checks, small problems from day 30 become structural failures by year three. This guide builds a Gate Installation maintenance schedule from month one, written from what we’ve seen across Los Angeles driveways and commercial lots since 2008.
Quick Answer
A new gate installation needs a 30-day torque and limit check, a 90-day break-in inspection that re-lubricates moving parts and re-checks operator force, and then a normalized schedule of every-6-months checks after year one. During year one, concrete cures and hardware seats, so the schedule is tighter than years two through five, when semi-annual inspection is usually enough for a properly installed gate.
Table of Contents
- The First 30 Days: Concrete, Torque, and Limits
- The 90-Day Break-In Inspection
- Year-One Calendar vs. Years Two Through Five
- Material-Specific First-Year Tasks: Iron, Powder Coat, and Wood
- How to Keep a Maintenance Log That Protects Your Warranty
- Lubrication: What Gets Greased, What Gets Sprayed, What Gets Left Alone
- Operator Settings: Force, Limits, and Why They Drift in Year One
- Los Angeles-Specific Considerations: Climate, Soil, and Code
- Common Mistakes to Avoid
- When to Call a Professional
The First 30 Days: Concrete, Torque, and Limits
Your gate was installed four weeks ago. The concrete footings for the posts and the operator pad were poured on install day, but concrete doesn’t reach full compressive strength for 28 days. In Los Angeles, where summer temperatures regularly hit the 90s in the Valley and winter brings rain saturation to hillside properties, cure time shifts. Hot, dry weather speeds surface curing but can leave the interior of a footing wet and weak if the mix wasn’t kept damp. What that means for you: the first 30 days are about verifying the posts haven’t shifted and the hardware hasn’t loosened as the gate cycles under its own weight.
Here’s the 30-day checklist we give every customer after a new gate installation in Los Angeles:
- Check post plumb with a level. Place a 4-foot level on the face and side of each gate post. Any movement of more than an eighth of an inch means the footing has shifted or the post wasn’t set square. This is the time to catch it, not month eight.
- Re-torque every hinge bolt and bracket fastener. A gate cycles thousands of times in its first month. Bolts seat, paint compresses under washers, and torque values drop. Go through every visible fastener with a socket or wrench. Snug, not over-tightened. Over-tightening a lag bolt in a wood post strips the threads and you’re replacing the post.
- Verify the opener’s limit switches. The limit switch tells the operator where to stop pushing the gate in both directions. In the first month, as the chain or belt stretches slightly and the gate settles, the gate may not close fully or may slam into the closed stop. Watch a full open-and-close cycle. If the operator is a FAAC or BFT model, the limit adjustments are usually behind a small access panel on the operator housing.
- Look for scrape marks on the driveway or gate track. A gate that’s dragging on the ground is telling you the post shifted or the hinge sagged. Scrape marks on concrete in the first 30 days are easy to fix. Six months later, that same issue has worn through the gate’s bottom rail.
- Test the safety edges and photo eyes. These are the sensors that stop or reverse the gate if something is in the path. Block the beam while the gate is closing. The gate should stop and reverse within a second. If it doesn’t, the sensor is misaligned or the operator’s force setting is too high.
If any of these checks fail, call the installer. A written guarantee should cover corrections inside the first year, which is exactly why we put ours in writing on every invoice. In our experience across Los Angeles, a gate that passes its 30-day check with no movement and no loose fasteners is overwhelmingly likely to run trouble-free for the next decade. The gate that fails at year two almost always had a 30-day issue that got ignored-one of the Gate Installation Warning Signs Every Homeowner Should Know.
The 90-Day Break-In Inspection
At 90 days, your gate has cycled somewhere between 1,000 and 3,000 times. The hardware has seated. The operator’s chain or belt has stretched to its final length. The gate’s weight now rests where it will rest for years. This is when the break-in period ends and the long-term maintenance schedule begins. It’s also the moment when small problems become visible before they become repairs, as covered in our Gate Installation Troubleshooting: Common Problems and How to Fix Them.
Here’s what the 90-day inspection covers:
- Roller and hinge inspection. Slide gates run on rollers that ride a track or a V-rail bolted to the ground. After 90 days, the rollers have seated into the rail and may have picked up grit from the driveway. Remove debris from the track, check each roller for flat spots, and verify none of the rail brackets has loosened. On swing gates, check the hinge pins for signs of the gate hanging low on one side.
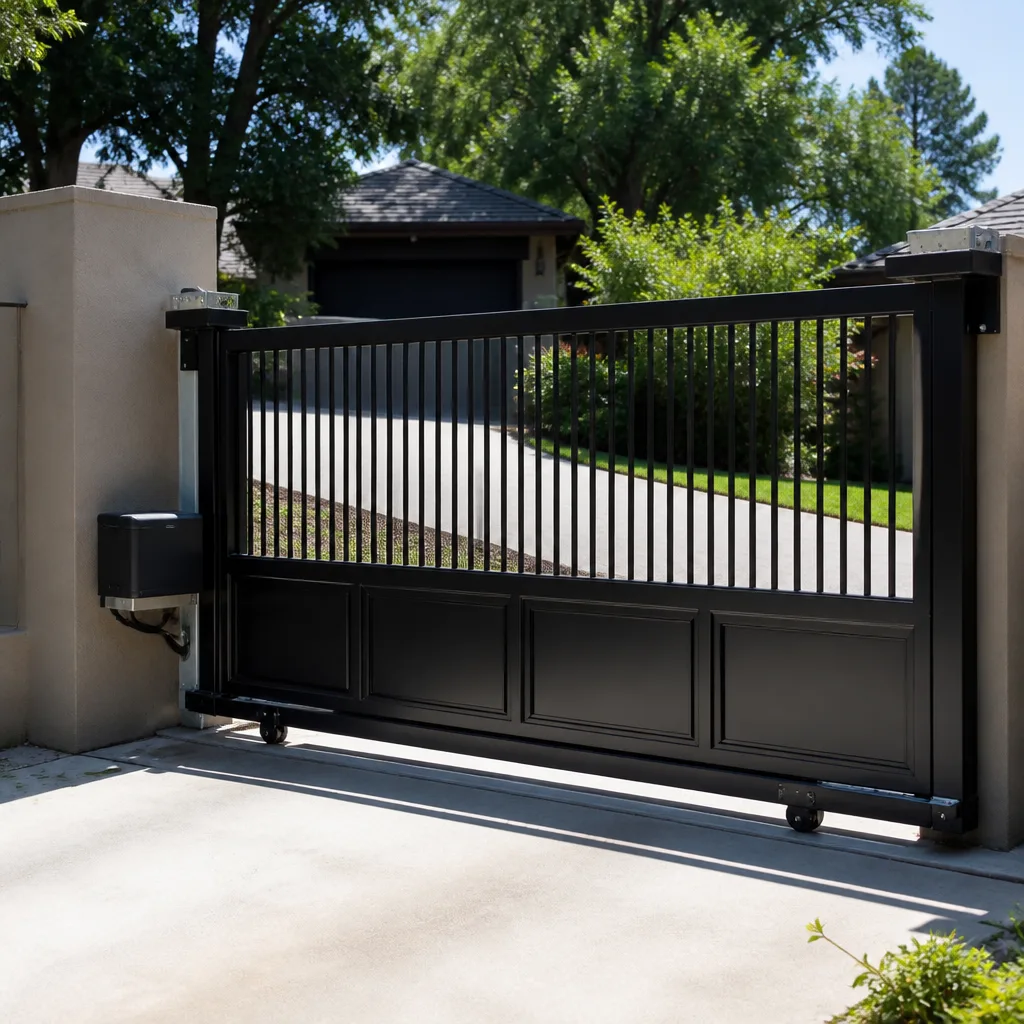
- Chain or belt tension. A new chain on a slide gate operator stretches during the first few months. If the chain sags more than half an inch at its midpoint, it needs to be re-tensioned. A loose chain causes jerky starts and premature sprocket wear. This is a five-minute adjustment on most Linear and Viking slide operators.
- Re-lubricate after the break-in. New hinges and rollers often have a light factory coating that wears off during the first 90 days. Now is the time for the first real lubrication. Use a lithium-based grease on hinge pins and a spray lubricant on roller bearings. Don’t lubricate the chain itself on most residential operators; the factory coating is designed to hold.
- Force setting check. The operator’s force setting determines how hard it pushes the gate before reversing. During break-in, the gate becomes easier to move as parts seat, which means the original force setting is now too high. A gate that’s pushing too hard is a safety hazard; it may not reverse when it hits a person or a car. Lower the force until the gate runs smoothly but still reverses when you apply hand pressure to the leading edge.
We’ve done thousands of electric gate repairs in Los Angeles and the pattern is consistent. Gates that get a proper 90-day inspection rarely need anything beyond scheduled lubrication for years. Gates that skip it show up in our schedule at month 14 with a burned-out capacitor or a snapped chain. The break-in inspection is the cheapest insurance you’ll ever buy for your gate.
Year-One Calendar vs. Years Two Through Five
The maintenance calendar for a new gate is deliberately front-loaded. Year one is about catching installation issues and break-in adjustments. Years two through five are about scheduled wear prevention. Here’s the side-by-side.
Year One: The Critical Window
- Day 30: Torque check, limit switch verification, post plumb check, safety sensor test.
- Day 90: Break-in inspection, chain tension, lubrication, force setting adjustment.
- Month 6: Inspect hinges and rollers for wear, clean the gate surface, check for paint chips or rust spots before the rainy season.
- Month 12: Full inspection, same as month 6, plus a battery backup test if your operator has one. This is also the deadline for any warranty claims you’ve been sitting on.
Years Two Through Five: The Steady State
- Every 6 months: Lubricate hinge pins and rollers, check chain or belt tension, clean photo eye lenses, test the force setting and safety edges.
- Annually: Inspect the full gate surface for rust, powder-coat chips, or wood moisture damage. Check post footings for cracking. Test the operator’s manual release.
- Every 2-3 years: Replace the backup battery if equipped. Consider re-sealing wood gates.
The reason the intervals space out after year one is straightforward: a properly installed gate that passes its 30-day and 90-day checks has proven its foundation. The concrete is cured, the hardware has seated, and the operator is dialed in. From there, semi-annual lubrication and inspection catches the gradual wear that happens over years. If you’ve kept the log from day one, you’ll have a baseline for what “normal” looks like on your specific gate.
Material-Specific First-Year Tasks: Iron, Powder Coat, and Wood
Los Angeles is not a single climate. A gate in Santa Monica faces salt air and marine layer moisture. A gate in Woodland Hills faces 105-degree summer heat and Santa Ana winds. A gate in the Hollywood Hills faces slope drainage and shifting soil. The material of your gate determines what the first year demands of you.
Wrought Iron Gates: Primer Adhesion and Rust Watch
Wrought iron gates in Los Angeles are usually either powder-coated at the factory or primed and painted on site. In the first year, watch for hairline cracks in the coating at weld points and hinge plates. These cracks happen as the gate flexes under its own weight during break-in. If you see bare metal through a crack, clean the spot with a wire brush, apply a rust-inhibiting primer, and touch it up with matching paint. A chip the size of a dime becomes a rust bloom the size of a dinner plate after one rainy season. Check the bottom rail especially; this is where water sits and where rust starts first.
Powder-Coated Aluminum or Steel: Scratch Repair Before Oxidation
Powder coat is a baked-on polyester or epoxy finish. It’s durable but it’s not armor. A scratch from a rock thrown by a mower or a graze from a delivery van exposes the metal underneath. In Los Angeles’s dry climate, oxidation starts slow, but the marine layer near the coast accelerates it. If you see a scratch in the first year, clean the area with mineral spirits and apply a touch-up paint that matches the powder coat. Don’t leave bare metal exposed through the winter months.
Wood Gates: Moisture Sealing After the First Rain
A new wood gate in Los Angeles is usually built from cedar, redwood, or pressure-treated pine. The first rain season tells you a lot about how the wood was sealed. If water beads on the surface, the seal is good. If the wood darkens and absorbs water, it’s time for a re-seal. Unsealed wood absorbs moisture, swells, and then dries and cracks during the next hot, dry stretch. That cycle warps the gate frame and pulls hinge screws loose. Re-seal a wood gate every one to two years in Los Angeles, more often if the gate gets direct afternoon sun.
How to Keep a Maintenance Log That Protects Your Warranty
Every gate manufacturer offers some form of warranty on the operator and often on the gate structure itself. Most of those warranties require evidence of regular maintenance if you file a claim. Here’s what to record from day one:
- Installation date, installer name, and operator model. Write it down the day the gate is installed. You won’t remember the model number in two years.
- Every maintenance date and what you did. “Lubricated hinges and rollers with lithium grease” is enough. Two lines per entry.
- Any adjustments made. Force setting changes, limit adjustments, chain tension corrections. Note the before and after settings if you can.
- Any repairs, with receipts. Whether it’s a touch-up paint job or a replacement part, keep the receipt and note the date.
- Photos. Take a photo of the gate on install day and after any repair. Date them. Visual evidence settles disputes.
This log does two things. First, it supports any manufacturer warranty claim. Second, it supports the written guarantee on your installation. Our 365-Day Done Right Promise at Portcullis Gate Repair covers every repair and installation with a written guarantee. If something fails inside that year, we come back and fix it at no charge. But if you’ve kept a log showing you did your part, the process is frictionless. You call, we schedule, we fix. No one argues about whether the gate was maintained.
Lubrication: What Gets Greased, What Gets Sprayed, What Gets Left Alone
Lubrication is the single highest-value maintenance task on any gate, and it’s also the one most people get wrong. Too little lubricant means metal-on-metal wear. Too much lubricant, especially on a slide gate track, turns into a magnet for Los Angeles dust and grit that grinds down the rollers like sandpaper.
What to Grease
- Hinge pins on swing gates. Use a lithium-based grease. Apply a small amount to the pin where it enters the hinge barrel, then cycle the gate a few times to work it in. Wipe away any excess.
- Bearing surfaces on cantilever slide gates. These gates roll on steel bearings inside a carriage. Grease the bearings semi-annually with a general-purpose bearing grease.
What to Spray
- Roller bearings on slide gates. Use a spray lubricant with a straw nozzle. A quick shot on each bearing, twice a year. Don’t soak the track.
- Latch mechanisms and keypads. A dry silicone spray keeps latches working without attracting dust. Keypads need nothing; a dry cloth is enough unless the buttons start sticking.
What to Leave Alone
- Operator chains. Most residential slide gate operators use a chain that’s factory-lubricated and designed not to need re-oiling. Greasing the chain attracts debris and accelerates wear. If the chain looks dry or rusted, check the manufacturer’s manual before adding anything.
- Photo eye lenses. Clean them with a soft, dry cloth. Lubricant on a lens fogs it and makes the sensor useless.
Operator Settings: Force, Limits, and Why They Drift in Year One
The operator is the motorized box that pushes or pulls your gate. On a swing gate, it’s the actuator arm mounted to the post. On a slide gate, it’s the motor box with a chain or belt connected to the gate. Every operator has two critical settings: force and limits. Both drift during year one, and both are the root cause of most gate repair calls in Los Angeles we receive.
Force is how hard the operator pushes the gate. Set too high, the gate becomes a hazard that won’t stop when it hits a child, a pet, or a car. Set too low, the gate stalls on the slightest resistance, like a pebble in the track or a gust of wind. During year one, the gate becomes easier to move as hinges seat and rollers bed in. The original force setting, correct on installation day, is now too high. That’s why the 90-day check includes dialing the force back down.
Limits are the stop points in each direction. On a swing gate, the limit tells the actuator when to stop pushing the gate open and when to stop pulling it closed. On a slide gate, limits tell the operator where the gate stops at the fully open and fully closed positions. New chains stretch, new belts settle, and mounting bolts shift under vibration. All of that means the limit settings that worked at install may now let the gate over-travel, slamming into the stop, or under-travel, leaving a gap at the closed position.
Checking limits is simple: run the gate through a full open-and-close cycle twice, watching each end point. If the gate slams, bounces, or stops short, limits need adjustment. On a FAAC operator, the limit adjustments are usually under a cover on the actuator. On a BFT operator, they’re typically inside the main control box. If you’re unsure, call a professional. A wrong limit adjustment can cause the gate to push past its stop and damage the operator gearbox, which is a $400 to $800 repair on most residential models.
Los Angeles-Specific Considerations: Climate, Soil, and Code
Los Angeles brings three specific challenges to gate maintenance that a generic guide written in Ohio or Texas won’t mention. Here’s what actually matters here.
Clay Soil and Footing Movement
Much of the Los Angeles basin sits on clay-heavy soil that expands when wet and contracts when dry. During winter rains, clay absorbs water and swells, pushing against gate post footings. During summer heat, that same clay shrinks and cracks, and the footing loses lateral support. The result is gradual post movement, even on well-poured footings. A gate post that’s plumb at the 30-day check may lean slightly by month 11 if the winter was wet and the summer was dry. That’s why the year-one check at month 12 matters as much as the month 1 check.
Santa Ana Winds and Operator Strain
Santa Ana winds blow in from the desert, often gusting to 50 mph or more, usually in the fall. A solid gate leaf in a Santa Ana wind becomes a sail, pushing against the operator and the hinges. This is when an under-torqued hinge bolt backs out, when a gate that’s slightly out of balance slams into its stop, and when an operator set with too much force bends the gate’s frame. Gates in wind-exposed areas like Porter Ranch, Chatsworth, and the foothill communities of the San Gabriel Valley need their torque and limit checks done before the Santa Ana season, not after.
Code Requirements for Gate Operators
Any automatic gate in Los Angeles must meet UL 325 safety standards, which govern safety devices like photo eyes, safety edges, and force settings. A gate that’s installed with non-compliant safety equipment is not just dangerous; it’s a liability for the homeowner. Every maintenance check should include a test of the safety devices. If the gate doesn’t reverse on obstruction, the operator is out of compliance and needs attention immediately.
Common Mistakes to Avoid
- Skipping the 30-day torque check. Bolts loosen as the gate seats. Skipping this check means loose hinges and sagging gates by month six. It’s the single most common cause of a gate that starts dragging and scraping the driveway.
- Oiling the chain on a slide gate operator. Factory chains are designed to run without added lubricant. Oiling one in dusty Los Angeles conditions turns the chain into a grit-covered abrasive strip that destroys sprockets.
- Ignoring a scratch in powder coat. A scratch is not cosmetic. It’s an entry point for oxidation that spreads under the coating. Touch it up the week you see it.
- Setting the force too high because the gate stalls. If the gate stalls, the problem is usually a track obstruction or a hinge issue, not insufficient force. Crank up the force and you’ve turned your gate into a dangerous machine that won’t stop for anything.
- Not writing down the operator model. When the operator fails and you call for service, the technician needs the model to bring the right parts. Not knowing the model adds a service visit and a delay.
- Waiting to re-seal a wood gate until it looks dry. By the time a wood gate looks dry, the damage is done. Re-seal on a schedule, not on appearance.
- Thinking a new gate needs no maintenance for the first few years. The first year is the highest-maintenance period of a gate’s life. Treat it that way and the next decade will be quiet.
When to Call a Professional
Some maintenance tasks are straightforward for a homeowner with basic tools: checking for loose bolts, cleaning photo eye lenses, touching up a paint scratch. Others are not. Call a professional if your gate post has moved out of plumb, if the operator is making grinding or clicking noises, if the gate reverses unexpectedly, if the safety sensors won’t stay aligned, or if you’re uncomfortable adjusting force or limit settings. Gate operators carry enough force to injure someone if they’re set incorrectly. That’s not a judgment; it’s a fact. Portcullis Gate Repair offers free estimates in Los Angeles, call (940) 412-7340 and we’ll send a background-checked, uniformed technician who will quote you a written price before any work starts.
Frequently Asked Questions
A new gate should be checked at day 30, day 90, month 6, and month 12 after installation. The first two checks are the most important because concrete is still curing and hardware is still seating.
Skipping the 30-day check means loose hinge bolts, shifted posts, and misaligned limit switches go undetected until they cause visible damage, usually within the first year. A gate that scrapes the driveway at month 6 could have been corrected with a five-minute bolt check at day 30.
A basic semi-annual lubrication and inspection visit in Los Angeles typically runs $95 to $180 depending on the gate type and operator model. Repairs found during inspection, like a replacement roller or a limit switch adjustment, are quoted separately and in writing before any work is done. Call (940) 412-7340 for an exact quote, estimates are free.
Every Portcullis Gate Repair installation and repair carries the 365-Day Done Right Promise: a written guarantee, stamped on the invoice, covering parts and labor for a full year. If the repair fails inside that year, we come back and fix it at no charge.
Yes. Homes near the coast in areas like Santa Monica, Pacific Palisades, and Playa del Rey deal with salt air and marine layer moisture that accelerate oxidation on metal gates. Those gates need more frequent coating inspections, typically every 4 to 6 months, and immediate touch-up of any coating damage.
You can handle lubrication, track cleaning, photo eye lens cleaning, and visual inspections yourself. Torque re-checks, limit and force adjustments, and post plumb measurements are safer and more reliable when done by a technician who does them daily. If the gate is an automatic operator, any adjustment to force or limits is best left to a trained professional.
The Bottom Line
The first year after a new gate installation is the highest-maintenance period of the gate’s life. Concrete cures, hardware seats, operators drift. Tighten your schedule early and you’ll run a quiet, safe gate for a decade. Skip the 30-day and 90-day checks and you’ll pay for it later in snapped chains, burned-out operators, and rusted rails. Keep a written log from day one, match your maintenance to the material of your gate and the part of Los Angeles you live in, and get professional eyes on the gate when something looks off. For more guides & resources, visit our blog. The schedule isn’t complicated. Day 30, day 90, month 6, month 12. Then every six months after that. Stick to it.
For a free estimate on gate installation, maintenance, or repair in Los Angeles, call Portcullis Gate Repair at (940) 412-7340. A live person answers, 24 hours a day. Every job gets a written price before any work begins, and every repair carries the 365-Day Done Right Promise in writing.
Written by Dean Prescott, Owner at Portcullis Gate Repair, serving Los Angeles since 2008.