
Last updated October 8, 2026
Free on-site gate assessment - hinges, posts, and your LiftMaster or Nice gate operator checked before anything is quoted
The assessment is free and the quote is the invoice.

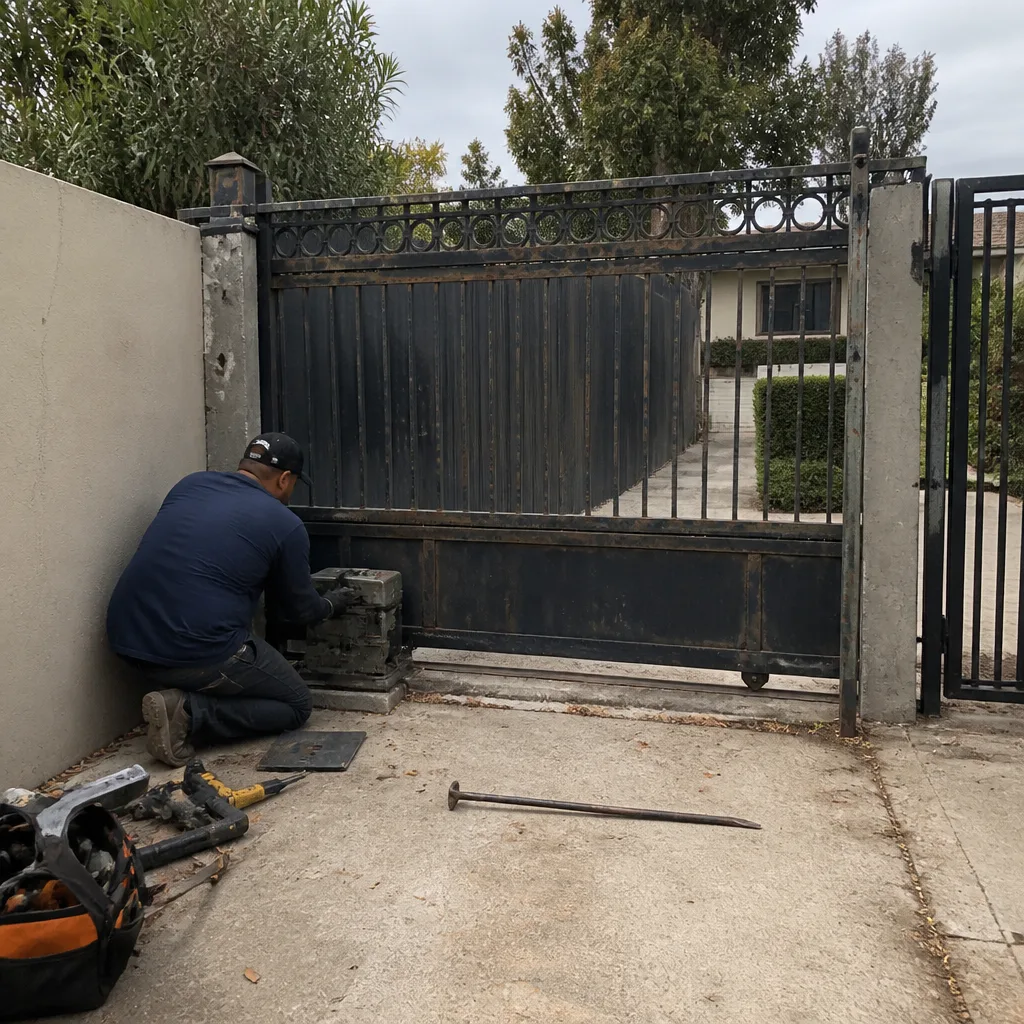 Before
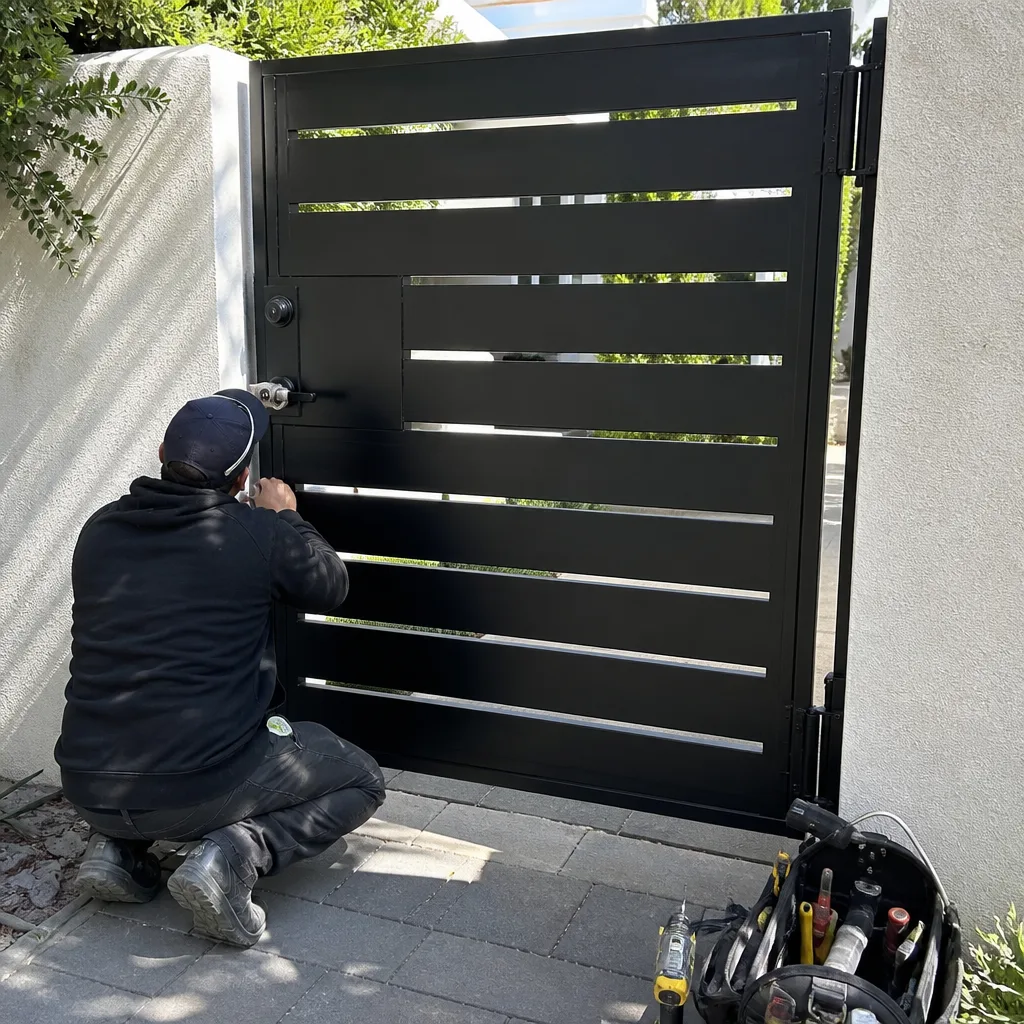 After
After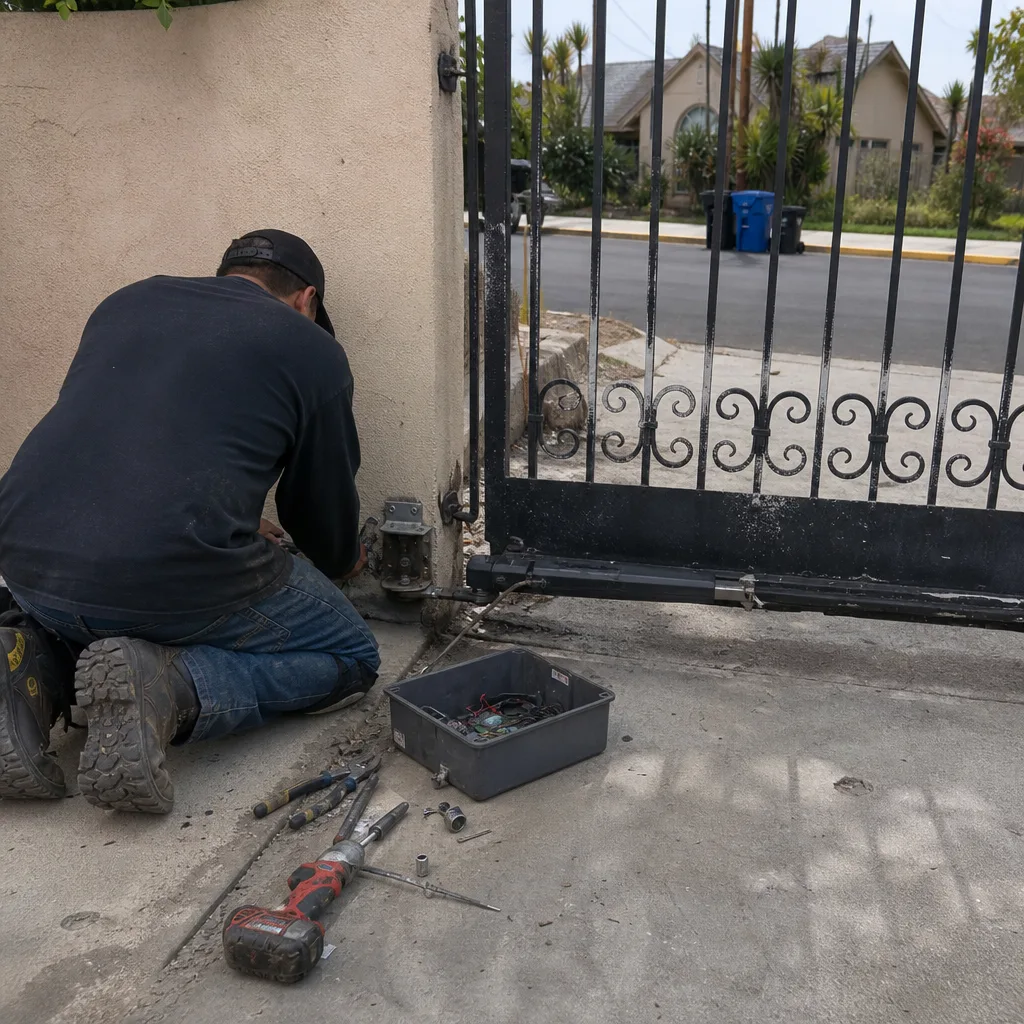 Before
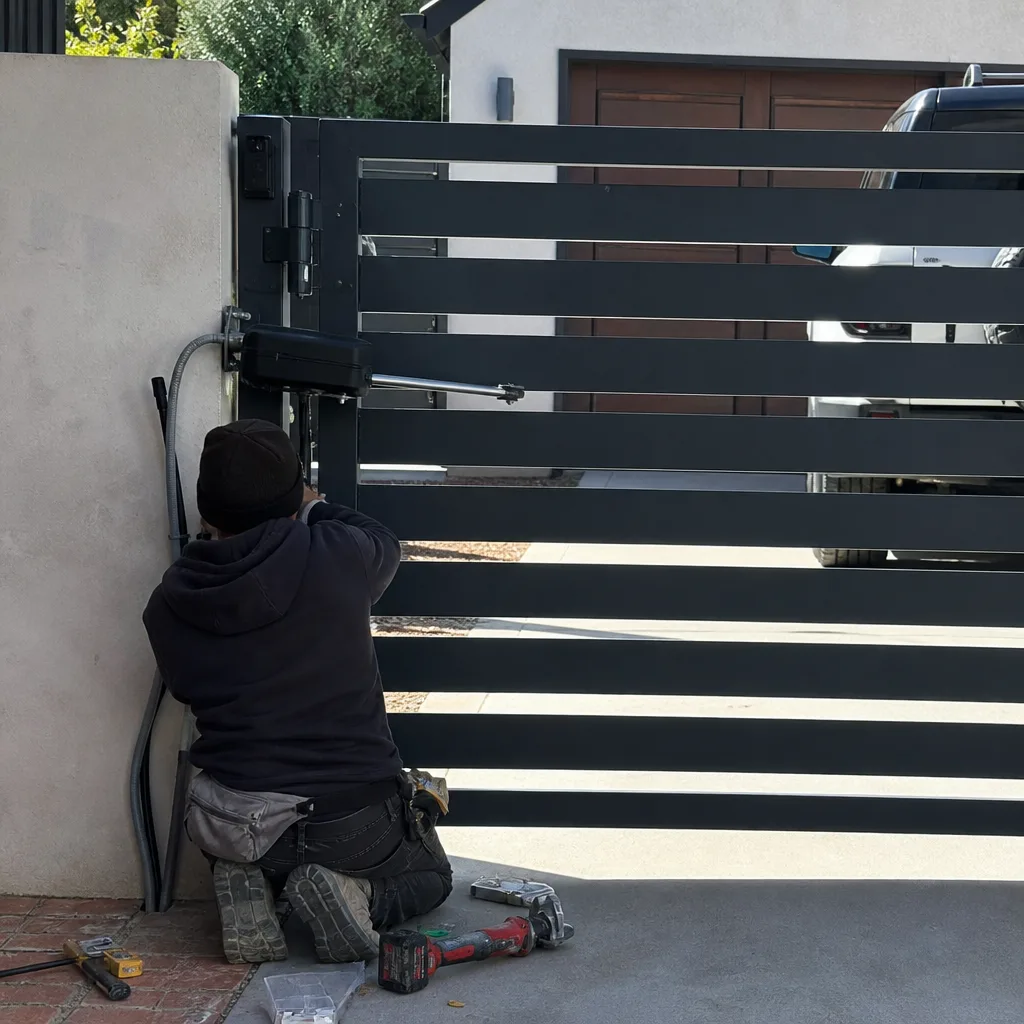 After
After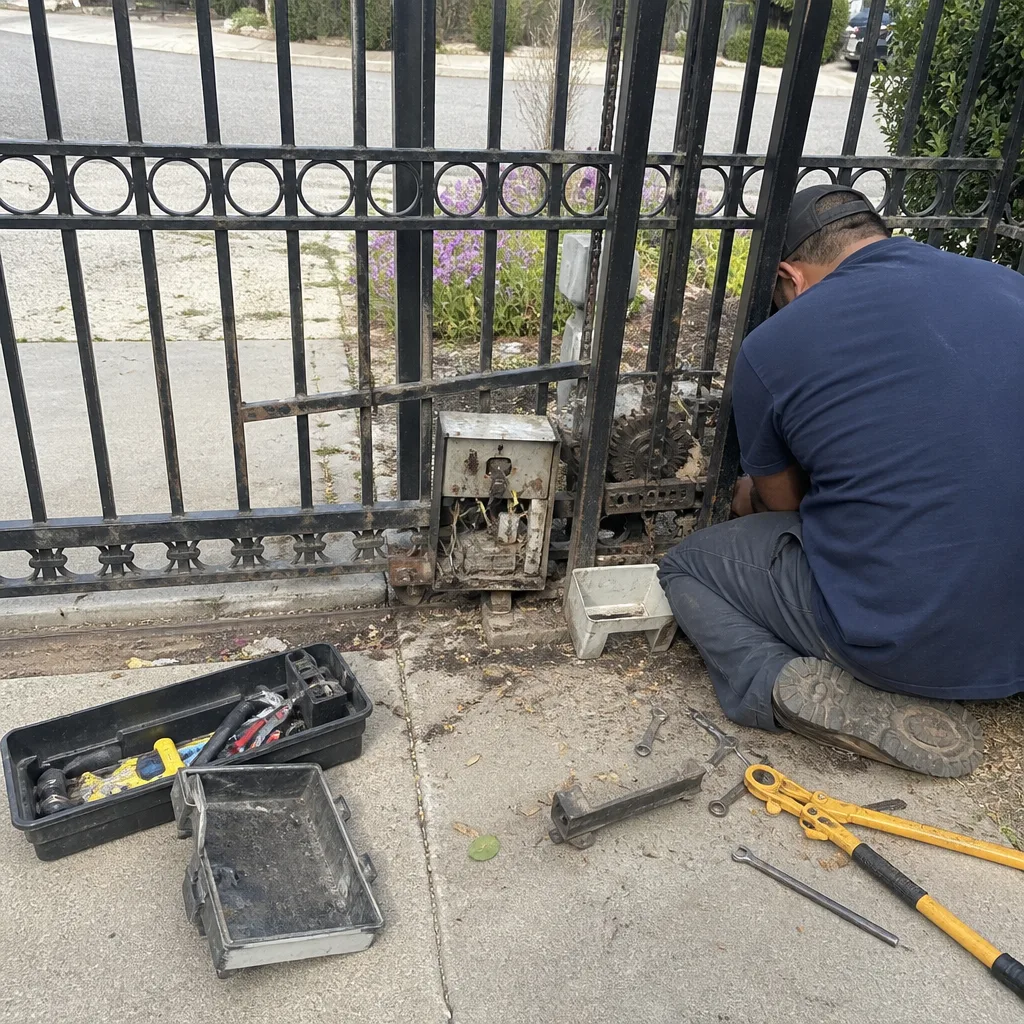 Before
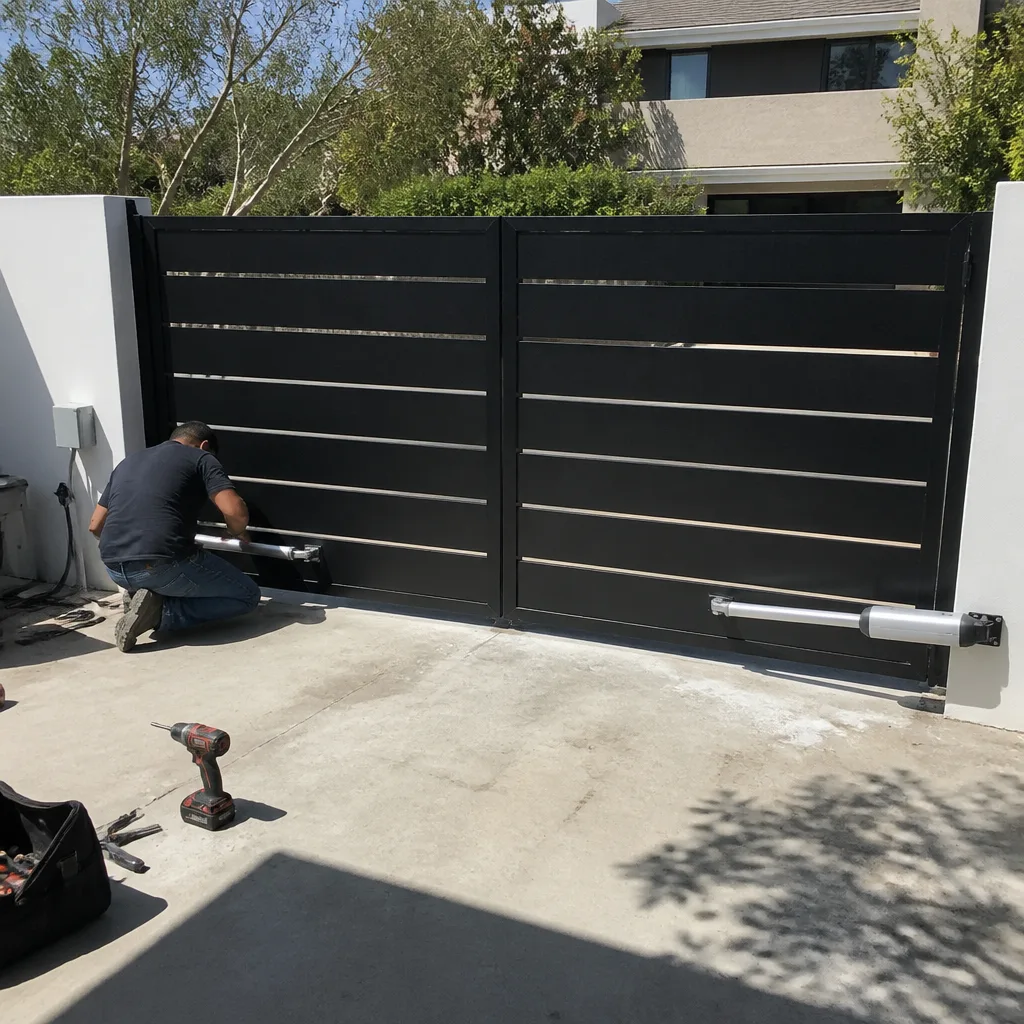 After
AfterDIY vs Professional Electric Gate Repair: What’s Safe to Do Yourself
Replacing a gate remote receiver is a ten-minute, wire-free task that many Los Angeles homeowners pay a service call fee for unnecessarily. But replacing the control board it plugs into involves live AC terminals, and that isn’t a YouTube tutorial project. This guide draws the line clearly between what’s genuinely safe to do yourself and what should be left to a professional, so you don’t do too little or too much. For a deeper comparison, see our article on DIY vs Professional Gate Repair: What’s Safe to Do Yourself.
Quick Answer
Safe DIY gate work is limited to the 12V and 24V DC side of your system: remotes, receiver boxes, sensor eye cleaning, battery backups, and resetting factory limits. Anything involving the 120V AC power supply, motor or gearbox disassembly, or welding and post-setting belongs with a licensed professional. A botched repair on the AC side risks shock, fire, and a voided operator warranty, so the real question isn’t your confidence level, it’s which voltage tier you’re touching.
Table of Contents
- The Voltage Tier Rule: Where the Safe Line Actually Sits
- Definitive Safe-to-DIY List: What You Can Handle This Weekend
- Definitive Hire-a-Professional List: What Not to Touch
- The Warranty Angle Nobody Tells You About
- The Real Cost of a DIY Mistake
- What a Professional Diagnosis Actually Looks Like
- Common Mistakes to Avoid
- When to Call a Professional
- Frequently Asked Questions
- The Bottom Line
The Voltage Tier Rule: Where the Safe Line Actually Sits
Most electric gate operators run on two power systems at once. There’s the 120V AC supply line that feeds the operator from your home’s electrical panel, and then there’s the 12V or 24V DC side that actually runs the control board, sensors, receiver, and motor. The AC side is what powers everything, and it’s the part that can hurt you. The DC side is low voltage, and while it can still short out a board if you cross a wire, it won’t deliver a shock that sends you to the emergency room.
Here is the simplest rule we teach Los Angeles homeowners: if a component runs directly off the operator’s low-voltage output, it’s fair game for a careful DIY repair. If a component sits between the wall outlet and the operator’s power input, or if it carries line voltage, leave it alone. This rule holds whether you’re in a canyon house in Laurel Canyon with an aging FAAC operator or a newer build in Porter Ranch with a Ghost Controls system.
The second line is about liability and warranty. Some repairs are physically safe but still a bad idea because they void the operator warranty, and we cover that in detail below.
We’ve been doing gate repair across Los Angeles since 2008, and we see the same pattern repeat: a homeowner replaces a gearbox successfully, feels confident, then opens the operator cover to swap a control board and touches a live 120V terminal. The voltage tier rule exists for a reason.
Definitive Safe-to-DIY List: What You Can Handle This Weekend
These are the repairs we regularly tell Los Angeles homeowners they can do themselves without calling us. Each one lives on the 12V or 24V DC side, requires basic tools at most, and carries no meaningful risk of personal injury.
- Replacing transmitters and remotes: If your remote stopped working but the gate opens fine from the keypad or hardwired button, the remote itself is likely dead. Buy a compatible replacement, clear the operator’s receiver memory, and program the new remote. Most operators, including Mighty Mule and Ghost Controls units, walk you through this in the manual.
- Clearing debris from the track or sensor eye: In many Los Angeles neighborhoods, eucalyptus leaves and dirt build up in slide-gate tracks within a month. Sweep along the full length of the track, clean the photo-eye lenses with a soft dry cloth, and test the gate. This fixes a surprising number of reversing and stalling issues.
- Testing and replacing the battery backup: Most operators have a 12V battery that keeps the gate working during a power outage. If your gate is fine until the power flickers, the battery is likely dead. Disconnect the operator from AC power first, test the battery with a multimeter, and swap in a matching replacement. Check the owner’s manual for the exact battery spec.
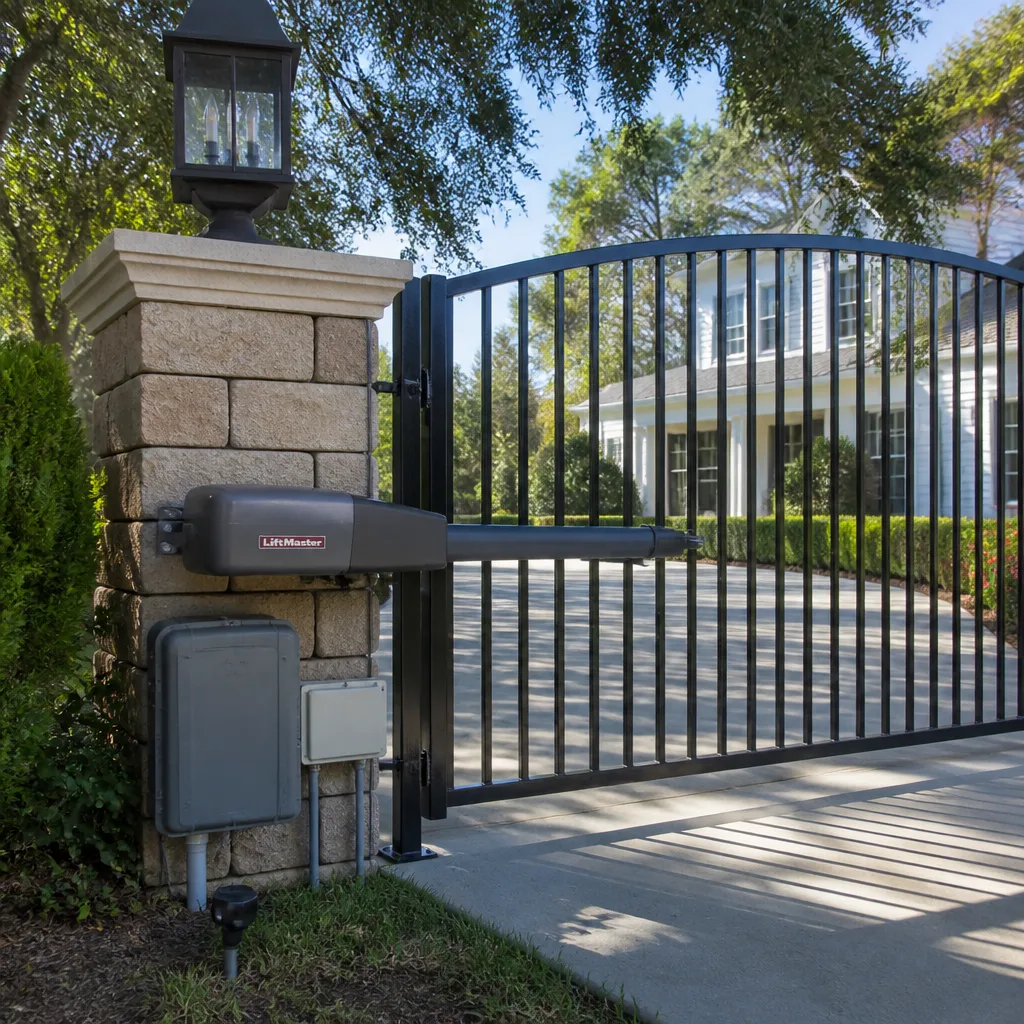
- Resetting factory limits on a LiftMaster via the button sequence: If your gate opens too far, stops short, or slams at the end of travel, the limit settings may be off. LiftMaster publishes a reset sequence using the buttons on the control board. Follow the manual exactly. This doesn’t require opening the AC section of the unit.
- Replacing a remote receiver box: Many operators use an external receiver that plugs into a socket on the control board and is powered by the board’s low-voltage output. Unplug the old receiver, plug in a compatible new one, and program your remotes. This is the ten-minute, wire-free task we mentioned in the opening.
- Lubricating hinges and rollers: A dry gate is a noisy gate. Use a white lithium grease or silicone spray on the gate hinge points, rollers, and slides. Avoid spraying the control board or sensor lenses.
If you’re ever unsure which side of the line a component sits on, look for the warning labels inside the operator cover. Any terminal marked with a voltage higher than 30V is not a DIY terminal.
Definitive Hire-a-Professional List: What Not to Touch
These repairs involve line voltage, heavy mechanical force, or structural work. They are not DIY projects, and in most cases the operator manufacturer agrees with us.
- Anything involving the primary AC power supply: The AC feed into the operator, the disconnect switch, the circuit breaker, the transformer, and any terminal carrying 120V is professional-only work. A wrong move here is a shock hazard and a fire hazard.
- Motor or gearbox disassembly: Opening the motor housing or gearbox usually means breaking the manufacturer’s seal, losing gear alignment, and handling heavy internal springs. This is where a DIY job goes from a $150 fix to a $900 replacement in a single afternoon.
- Welding or post re-setting: A sagging gate post in an area with shifting soil, like the hillsides in Chatsworth or the sandy ground closer to the coast, often requires re-setting the post in concrete or welding a cracked bracket. This is structural work, not electrical work, and it needs the right equipment and often a permit.
- Any repair the operator manufacturer specifies must be done by an authorized dealer: Check your warranty paperwork. Some DoorKing and Elite operators include language that voids coverage if a non-authorized person performs certain repairs. We cover this more below.
- Hydraulic operator service: Some commercial and heavy-residential gate operators run on hydraulic fluid, not a mechanical gearbox. Hydraulic systems hold pressure and can fail suddenly. This is never a DIY job.
In our experience serving the Los Angeles gate repair market, the homeowners who call us after a DIY disaster almost always say the same thing: they didn’t realize the component they touched was on the AC side until it was too late.
The Warranty Angle Nobody Tells You About
Your gate operator came with a warranty when it was installed, probably one to five years depending on the brand and model. What most Los Angeles homeowners don’t realize is that many of those warranties include language about who is allowed to open the unit.
Take a typical Ghost Controls or Mighty Mule residential operator. The warranty explicitly covers defects in materials and workmanship, but it excludes damage caused by unauthorized repair. If you open the control board housing, replace a component yourself, and the board fails again three months later, the manufacturer can deny the warranty claim. At that point, you are paying full retail for a board you might have received free under warranty.
The same logic applies to DoorKing and Elite commercial-grade operators, which are generally stronger warranties with stricter conditions. An authorized dealer has a relationship with the manufacturer and can process a warranty claim cleanly. A homeowner with a screwdriver cannot.
So before you start a DIY control board swap, read your warranty document. If it requires authorized service for that specific repair, and the unit is still under warranty, the DIY route can cost you more than a service call. That is not gate-company fearmongering. That is the plain text of the warranty document sitting in the bottom of the operator box.
The Real Cost of a DIY Mistake
Let’s talk about what a DIY mistake actually costs, because the dollar figures change the math quickly.
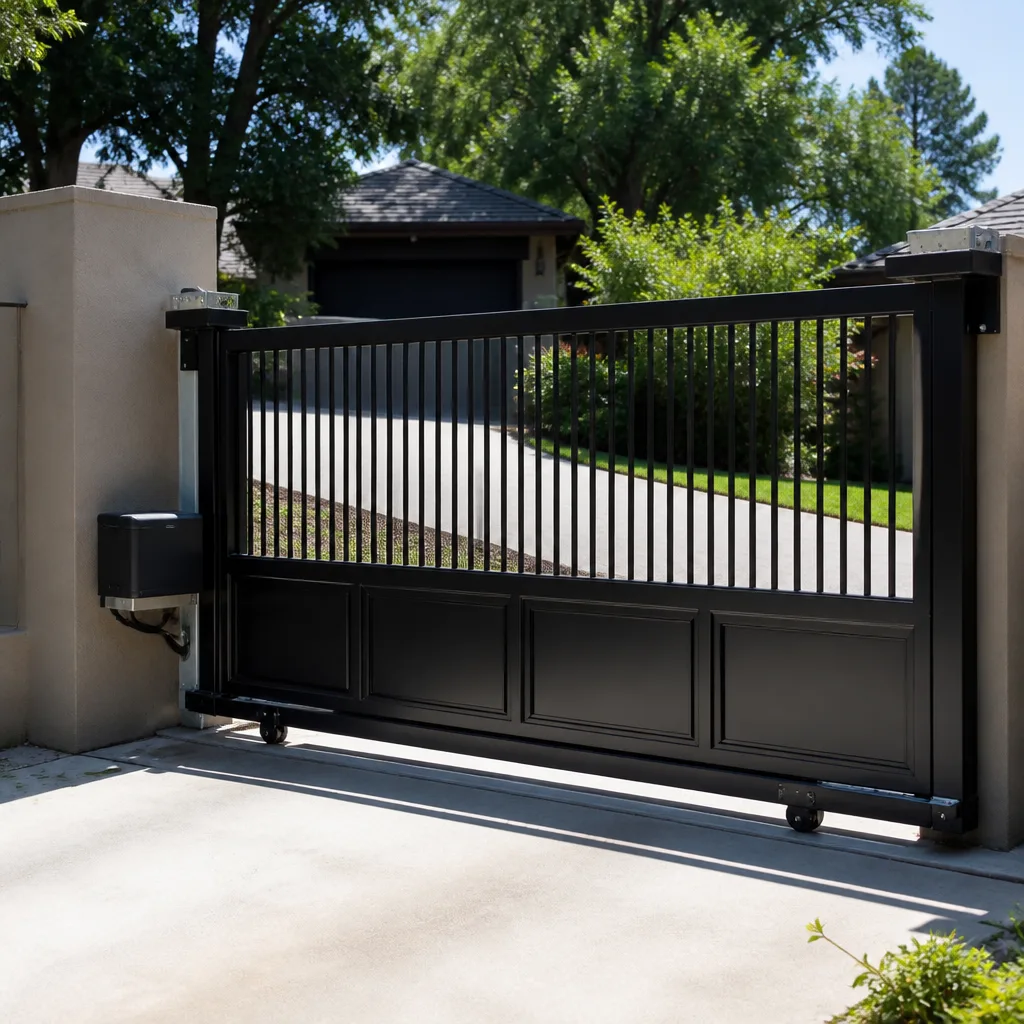
Say you have a LiftMaster SL3000, a common slide-gate operator in Los Angeles apartment buildings and gated condo complexes. The control board fails, you order a replacement online for around $400, and you watch a video showing you how to swap it. During the swap, you cross two low-voltage wires, or worse, you brush a live 120V terminal against the board. The new board is now fried. Even worse, the miswiring can travel back and damage the motor driver board too, a $200 part on the same unit. Your $400 DIY fix just became a $600 or $700 parts-only loss, and you still don’t have a working gate.
Now compare that to a professional service call. We charge a diagnostic fee, we find the actual failure point, and we give you a written price before any work starts. If the total is $500 for board replacement with the guarantee, you’re done at one predictable price. The DIY path had no guarantee, no warranty coverage, and a meaningful chance of doubling the parts cost.
The risk compounds on the AC side. A homeowner who incorrectly wires the AC input on a gate operator can start an electrical fire inside the operator housing. The operator sits outside, often near a fence, landscaping, or a wooden gate. Fire spread from an operator is rare but real, and no repair savings justify it.
We are not saying every DIY repair fails. Most of the simple ones succeed. But the cost of failure on the hard ones is steep enough that the homeowner math should change.
What a Professional Diagnosis Actually Looks Like
If you decide to call a pro, you should know what a good diagnosis looks like so you can spot the difference between a real technician and someone who is guessing at your expense.
A good diagnostic visit in Los Angeles should follow a sequence. The tech arrives in the window they promised, asks you what symptoms you’ve seen, and then starts testing systematically. On an electric gate, that means checking the power supply first, then the control board outputs, then the receiver input, then the limit switches, then the motor draws, and finally the mechanical load on the gate itself. Each test rules something out.
Here is the part that matters: before the tech replaces anything, they explain what they found, why it failed, and what the fix costs. You get the price in writing before a single bolt is turned. If a tech pulls out a control board, says “this looks bad, probably need a new one, I’ll send you a bill after,” that is not a diagnosis. That is a guess on your credit card.
We run every diagnostic this way at Portcullis Gate Repair. We tell you what failed, what caused it, and what we recommend, and then we put the price on paper and wait for your go-ahead. It is how every Kingswell company operates, including our Los Angeles gate installation and repair work.
A good tech also checks the gate itself, not just the operator. A gate that scrapes the ground because the post shifted in saturated soil will kill a new operator motor within a year. Diagnosing the operator without checking the gate is fixing the symptom, not the cause.
Common Mistakes to Avoid
- Crossing the voltage line without realizing it: The instant you remove the operator cover and touch a terminal, you need to know whether that terminal carries 12V DC or 120V AC. In our experience, the most common DIY injury comes from a homeowner who thought they were working low-voltage and found the AC feed instead.
- Replacing the most expensive part first: A gate that won’t open could be a dead remote, a bad solder joint on the receiver, a tripped breaker, or a failed control board. Buying a $400 board before checking the $12 remote and the $0 breaker is the most expensive ordering of tests possible.
- Skipping the warranty check: If your operator is under five years old and you open the control housing yourself, you may be voiding coverage for the exact part you’re about to touch. Check the warranty first, because free beats cheap.
- Ignoring local soil and climate conditions: Los Angeles has dramatically different conditions from the coastal areas to the Valley to the hills. A gate post that was stable in the dry season can shift when the winter rains come, and a homeowner in Encino may not think to check post stability the way a homeowner in the Hollywood Hills has learned to.
- Buying a used control board online: We see this regularly. A homeowner buys a “tested working” board from an auction site, installs it, and the board fails within weeks because it was pulled from a gate that was scrapped for a reason. Used boards carry no warranty and no return policy worth relying on.
- Not checking the gate travel after the repair: After any DIY repair, run the gate through a full open and close cycle at least five times. Watch for stalling, reversing, or slamming. A gate that slams at the end of travel will destroy gears fast, and a gate that reverses for no reason is a sign the safety edges or photo eyes are misaligned.
When to Call a Professional
Call a professional when the repair involves the AC power supply, the motor or gearbox, welding, post-setting, or hydraulic components. Call one when the operator is under warranty and the manufacturer requires authorized service. Call one when you’ve spent more than an hour on a diagnosis and don’t have a clear answer, or when the gate is a security barrier and a failed repair means an exposed property overnight. Portcullis Gate Repair offers free estimates in Los Angeles - call (940) 412-7340.
Frequently Asked Questions
Yes. Replacing a gate opener remote is one of the easiest DIY jobs on an electric gate system. You purchase a compatible remote, clear the operator’s receiver memory, and program the new remote using the button sequence in your operator’s manual. Most residential operators, including Ghost Controls and Mighty Mule units, are designed for this to be homeowner-friendly.
No, replacing a control board is not a safe DIY repair for most homeowners. Control boards sit near the 120V AC power terminals, and a slip with a screwdriver can deliver a serious electrical shock or destroy the board you just spent hundreds on. This is also a repair that often voids the operator warranty when done by a non-authorized person.
In Los Angeles, basic electric gate repairs like photo-eye replacement or remote programming typically run $150 to $300, while control board replacement with parts and labor runs $400 to $700, and full motor or gearbox replacement can run $800 to $1,500 or more depending on the operator model. Most swing-gate actuator swaps run $450 to $850 parts and labor. Call (940) 412-7340 for an exact quote - estimates are free.
It can. Many gate operator manufacturers include warranty language that excludes damage caused by unauthorized repair or modification, and replacing a control board or opening the operator housing yourself can fall into that category. Read your warranty document before starting a repair, and if the unit is still under coverage, call an authorized dealer.
LiftMaster operators have a limit-setting sequence that uses the control board buttons, and it is described in your owner’s manual. Locate the limit adjustment buttons on the control board, follow the exact sequence for setting open and close limits, and test the gate after each adjustment. This is generally a safe DIY task because it doesn’t require touching the AC side of the unit.
Sliding gates are more forgiving for basic DIY tasks like track cleaning and roller lubrication, but their operators tend to have heavier loads and more mechanical components. Swing gates are easier on the motor but harder on the hinge posts, which can shift in Los Angeles’s wet winters and create a load that burns out the actuator. Both gate types share the same rule: low-voltage side is DIY-friendly, anything else is not.
The Bottom Line
The DIY versus professional question comes down to voltage and warranty. Remotes, receiver boxes, photo-eye cleaning, battery swaps, and LiftMaster limit resets are all legitimate homeowner tasks on the 12V and 24V DC side. The 120V AC supply, motor and gearbox internals, welding, and post-setting belong with someone who does this work daily. Electric gate repair in Los Angeles is a service we provide under the same written-price, written-guarantee standard every Kingswell company follows. If you’re not sure which side of the line your repair sits on, call us and ask. Portcullis Gate Repair answers around the clock.
Written by Dean Prescott, Owner at Portcullis Gate Repair, serving Los Angeles since 2008. For more guides & resources, visit our blog.