
Last updated October 8, 2026
Free on-site gate assessment - hinges, posts, and your LiftMaster or Nice gate operator checked before anything is quoted
The assessment is free and the quote is the invoice.


 Before
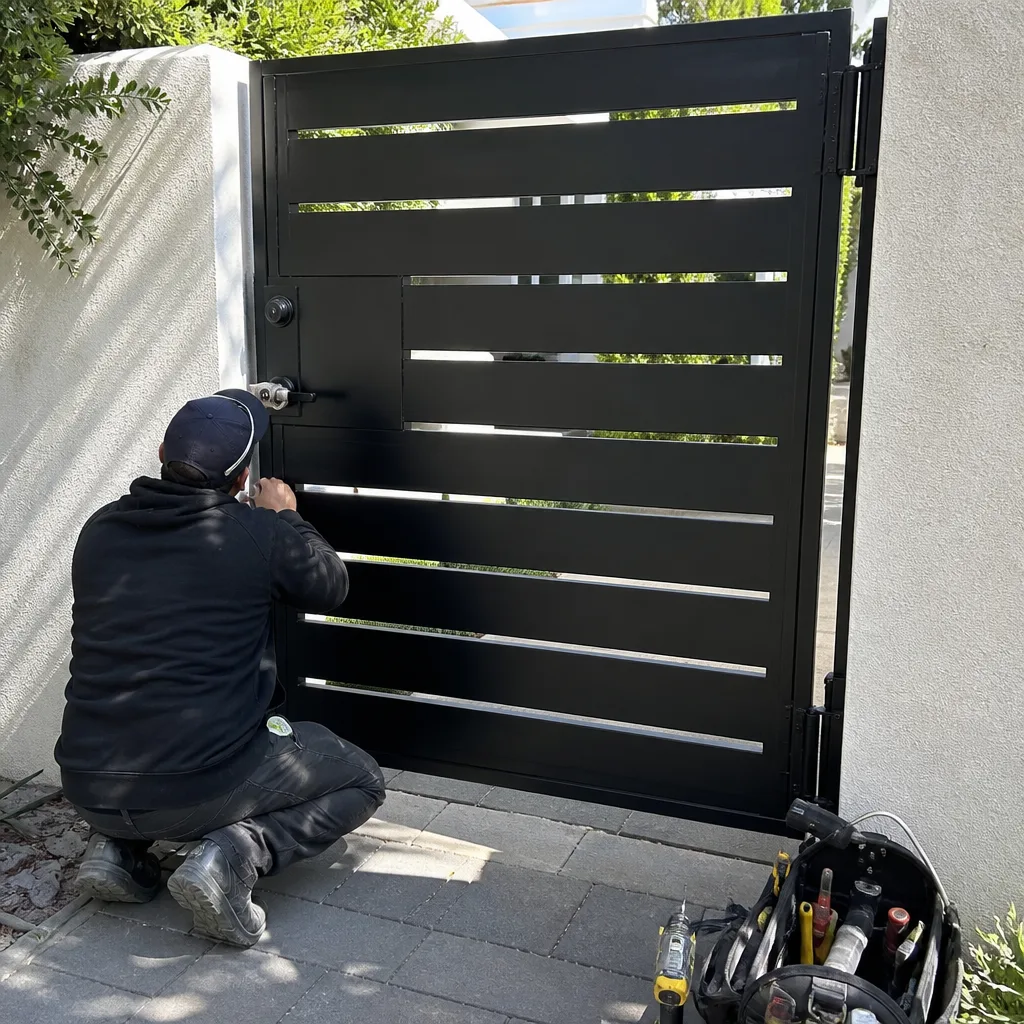 After
After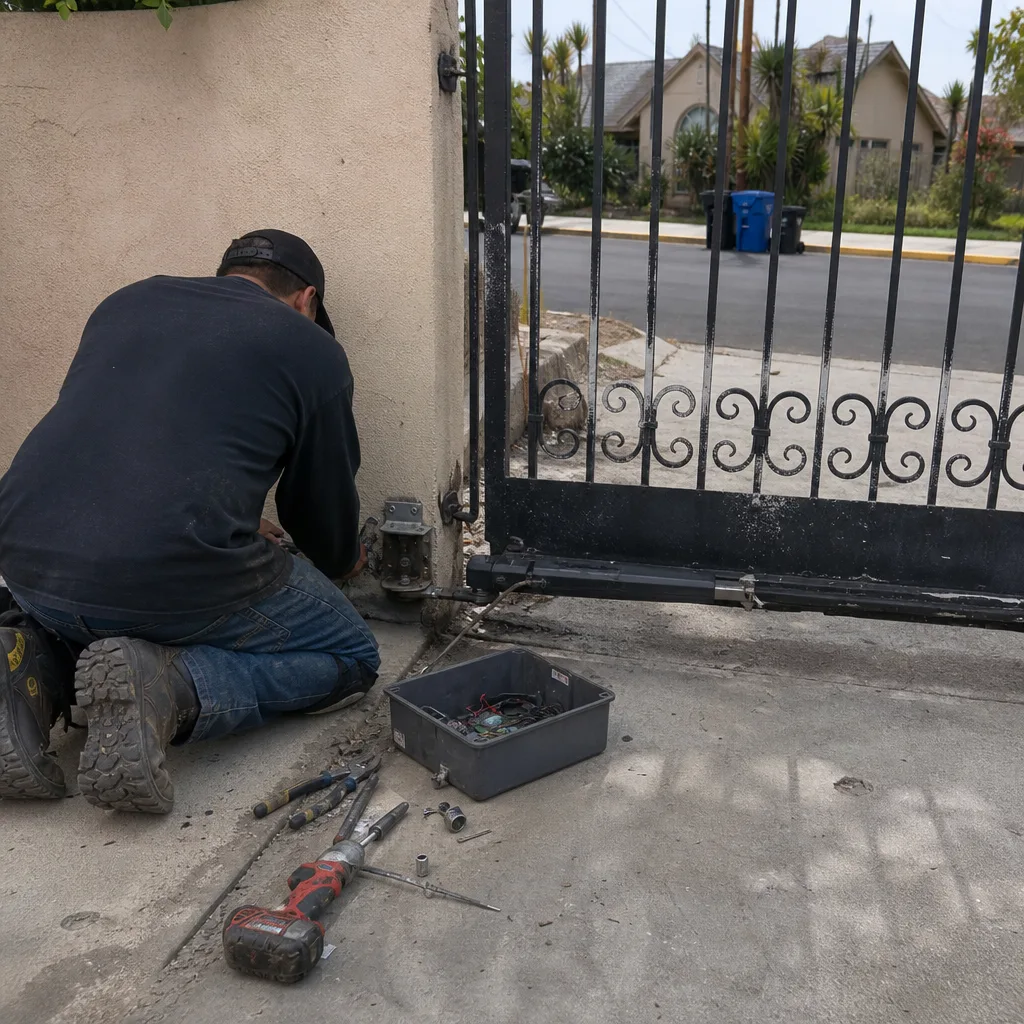 Before
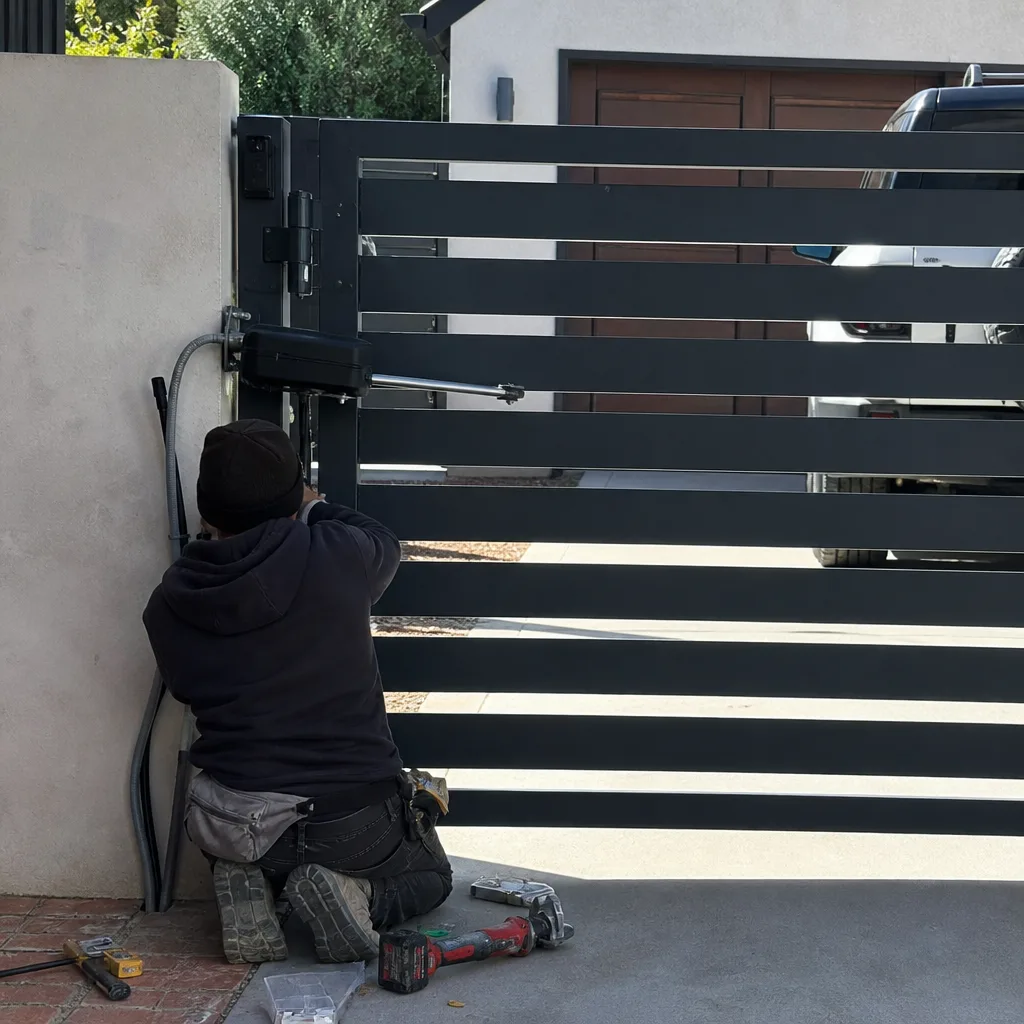 After
After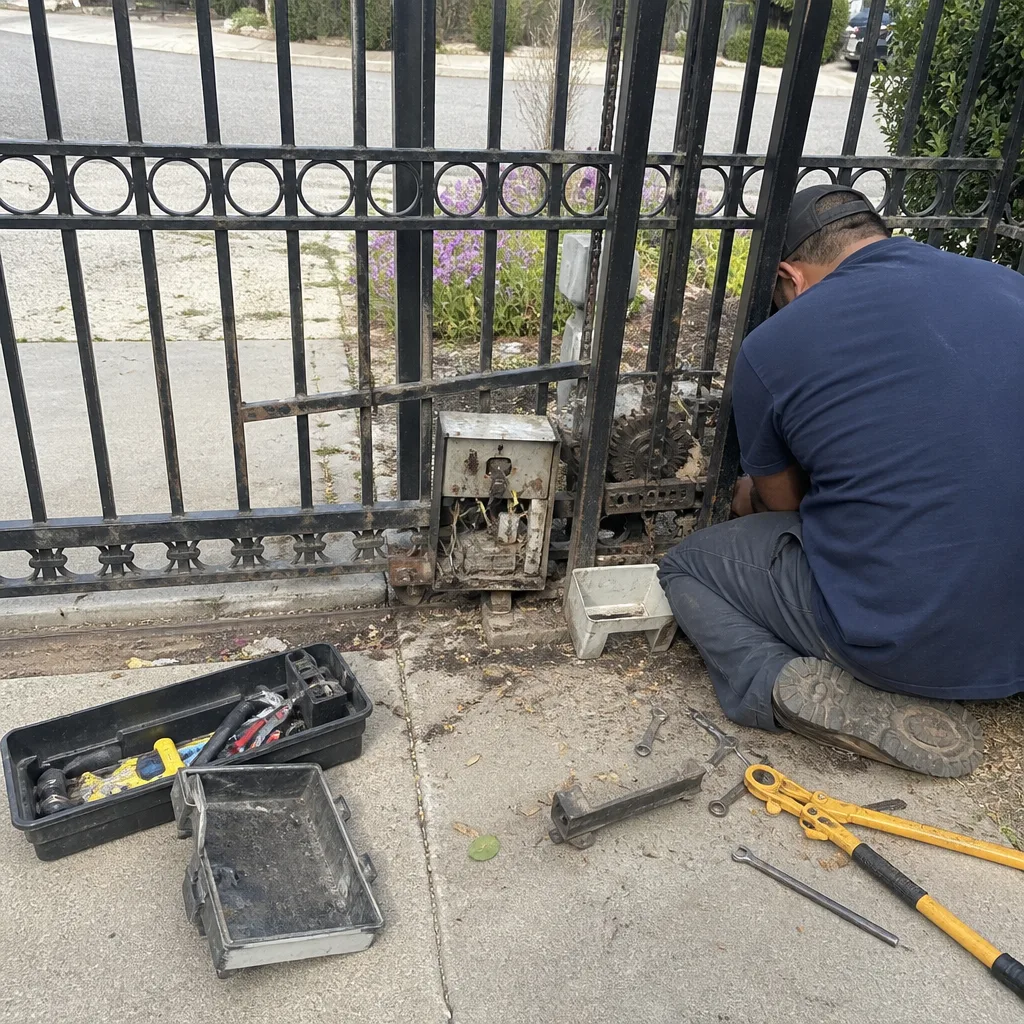 Before
 After
AfterElectric Gate Repair Troubleshooting: Common Problems and How to Fix Them
Here’s something most people don’t realize until their gate stops moving: a gate that won’t open is not always a broken gate. In Los Angeles, where automatic driveway gates are standard on thousands of hillside and canyon properties, roughly one in four “dead gate” service calls we get turns out to be a tripped GFCI outlet or a dead battery in the remote transmitter. Both fixes take under two minutes and cost nothing. This guide walks you through the signal chain that every electric gate depends on, power source to control board to operator motor to mechanical hardware, so you can pinpoint which tier the problem lives in before you call our Gate Repair services. You’ll learn the onboard fault codes most owners never bother looking up, the three mechanical checks that are safe for any homeowner to do, and exactly where the line sits between a five-minute fix and a job that belongs in a trained technician’s hands.
Quick Answer
Most electric gate failures trace to one of four tiers in the signal chain: lost power (tripped GFCI, dead battery, disconnected power supply), a control board fault (blown fuse, failed relay, corrupted limit memory), an operator motor failure (worn capacitor, stripped gear, seized actuator), or mechanical binding (track debris, hinge wear, chain tension loss). Start by checking whether the operator has power, then test whether it responds to hardwired controls but not the remote, then do a manual release and drag test. Those three steps resolve or identify the cause of the majority of electric gate problems before a single component is replaced.
Table of Contents
- Understand the Signal Chain Before You Touch Anything
- Step 1: Does the Operator Have Power?
- Step 2: Remote Not Working but Keypad Works Fine
- Step 3: Gate Moves but Stops or Reverses Mid-Travel
- The Three Mechanical Checks That Are Safe for Any Homeowner
- Onboard LED Fault Codes: What Those Blinking Lights Actually Mean
- Limit Switches and Why Limits Drift
- Where to Draw the Line: What You Should Not Attempt Yourself
- Common Mistakes to Avoid
- When to Call a Professional
- Frequently Asked Questions
- The Bottom Line
Understand the Signal Chain Before You Touch Anything
Every automatic gate, whether it’s a sliding cantilever on a Beverly Hills driveway or a swing gate at a Sherman Oaks ranch-style home, runs on the same four-tier signal chain. Miss one tier and you’ll waste an afternoon testing the wrong component.
- Power source – the 120V outlet or hardwired circuit feeding the operator, often through a GFCI, plus the low-voltage battery backup if the system has one. If this tier fails, nothing downstream works.
- Control board – the printed circuit board inside the operator housing that receives commands from remotes, keypads, and safety devices, then tells the motor what to do. This is where most fault codes originate.
- Operator motor – the electric motor plus its capacitor, gear train, and drive mechanism (chain, belt, or worm gear) that physically moves the gate leaf. Problems here show up as humming, grinding, or movement that starts and stops.
- Mechanical hardware – the gate itself: hinges, wheels, track, chain tension, and the physical structure that the motor is trying to move. Binding or misalignment at this tier mimics and sometimes causes failures at every tier above it.
The reason this matters is simple: a gate that won’t move can be caused by a dead power source, a fried control board, a seized motor, or a hinge so rusted it would stall a brand-new operator. In Los Angeles, where coastal salt air near the Palisades and Marina del Rey eats through metal hardware faster than inland neighborhoods like Pasadena or Glendale, mechanical binding is disproportionately common. Knowing which tier you’re dealing with before you call a gate repair company in Los Angeles saves you from paying for a new control board when all you needed was a new bearing.
Step 1: Does the Operator Have Power?
This is the first branch in the decision tree, and it surprises people how often it ends the investigation there. Before you assume anything about the motor or the board, confirm that electricity is reaching the operator. Here’s the exact sequence we run on every “dead gate” call in Los Angeles, in order.
- Check the GFCI outlet. Electric gate operators in Los Angeles are almost always plugged into a GFCI-protected outlet, typically mounted on the side of the operator housing or on a post nearby. GFCI outlets trip on any ground fault, which includes moisture intrusion, a brief power surge, or even a nearby lightning strike. If the outlet has a “RESET” button, press it. You’d be surprised how many gates come back to life at this step.
- Check the circuit breaker. If the outlet won’t reset, find the breaker panel. The gate circuit is usually on its own 15-amp or 20-amp breaker, often labeled “gate” or “driveway.” Flip it fully off, then fully on.
- Check the operator’s power switch. Most operators have a small toggle or rocker switch on the side of the housing. If someone was working near the gate or a landscaper was trimming nearby, that switch can get bumped to the OFF position. It sounds obvious. We find it switched off at least once a month.
- Look for the power indicator light. On LiftMaster, Elite, DoorKing, and Ghost Controls operators, a small LED on the control board or on the exterior of the housing tells you whether the board is receiving power. If that light is dark after you’ve checked the first three items, the problem is upstream of the operator, either in the outlet, the breaker, or the wiring between them.
One Los Angeles-specific note: if your gate is on a hillside property with an older electrical panel, particularly in neighborhoods like Silver Lake, Echo Park, or Mount Washington where homes date to the 1920s through 1950s, the gate circuit may share a breaker with an outdoor lighting circuit or a pool pump. A tripped breaker might not look gate-related on the panel label. Check every breaker that’s even slightly out of alignment.
Step 2: Remote Not Working but Keypad Works Fine
If the gate opens with the hardwired keypad or push button but ignores the remote, the signal chain narrows sharply. The power source is fine, the control board is receiving commands, and the motor works. The failure is either in the transmitter, the receiver, or the radio frequency path between them. Here’s how to isolate it.
- Replace the remote battery. This is the single most common fix in all of electric gate repair. Remote batteries last 12 to 24 months depending on use, and the symptoms of a dying battery are exactly what you’d expect: reduced range, intermittent response, and eventually nothing. Use the correct battery type for your remote. Mighty Mule and Ghost Controls remotes typically take a 9V or a CR2032; most LiftMaster and Elite remotes use a CR2032 or a similar coin cell.
- Test range from inside your car. A remote that works from ten feet away but not from the driver’s seat of a running car points to radio interference or a weakening receiver antenna. In dense Los Angeles neighborhoods, particularly in condo developments or gated communities in West Hollywood, Century City, or Downtown, the 300 MHz and 318 MHz bands used by most gate remotes are crowded. Competing signals from neighboring gates, garage door openers, and even some LED lighting can swamp a weak remote signal.
- Check the receiver antenna. On many operators, the receiver antenna is a short length of wire protruding from the operator housing. If it’s been bent, torn off by a weed whacker, or chewed by a rodent, range drops to nearly zero. A trained technician can replace or reposition the antenna in minutes. If you’re not comfortable opening the housing, this is a small job worth calling in.
- Clear and reprogram the remote. If the remote worked yesterday and stopped today, and the battery is new, the remote may have lost its programming to the receiver. Reprogramming procedures vary by brand. DoorKing and Elite use a “learn” button on the control board. Ghost Controls and Mighty Mule remotes pair through a specific button sequence. If you have the original manual, follow it exactly.
If all four steps check out and the remote still won’t trigger the gate, the receiver module on the control board may have failed. That’s a board-level repair that belongs in the hands of someone who works on electric gate repair in Los Angeles regularly. A failed receiver can sometimes be bypassed with an aftermarket external receiver, which is often cheaper than replacing the entire control board.
Step 3: Gate Moves but Stops or Reverses Mid-Travel
A gate that starts moving but then stops, reverses, or shudders partway through its travel arc is telling you something specific. Unlike a completely dead gate, this symptom narrows the problem to the operator motor, the mechanical track, or the safety and limit systems. Here’s how to read what the gate is saying.
If the gate stops and reverses before hitting the open or closed limit: the most likely culprit is an obstruction detection system doing exactly what it’s designed to do. Safety edges, photo eyes, and current-sensing circuits on the board all trigger a reversal when they detect resistance. In Los Angeles, where drought-tolerant landscaping is ubiquitous, the obstruction is often a plant. A bougainvillea branch grown into the gate track in Westchester, an agave pup pushing against the gate leaf in Atwater Village, or a decomposed granite path that’s shifted and is now brushing the bottom of the gate panel, any of these will trigger a false reversal. Trim the greenery back and clear the track before you assume the operator is failing.
If the gate grinds, shudders, or makes a laboring sound mid-travel: the mechanical load is exceeding what the operator is rated to move. On a swing gate, the usual suspects are failing hinge bearings or a sagging gate leaf. On a sliding gate, it’s worn rollers, debris in the track, or a bent rail. A gate that’s been hit by a car, which happens more often than you’d think on narrow Los Angeles streets, can bend the track or warp the frame just enough to create intermittent binding. That binding then trips the current sensor and the gate reverses.
If the gate stops at the wrong position and won’t complete its travel: you’re almost certainly dealing with limit switch drift, which deserves its own section below. The short version: the board’s internal counters have lost track of where the gate actually is, so the operator thinks the gate has reached its limit when it hasn’t.
The Three Mechanical Checks That Are Safe for Any Homeowner
Before you call anyone, and before you start suspecting the control board or the motor, do these three checks. They require no tools beyond your hands and eyes, they take under ten minutes total, and they’ll rule out or confirm the most common mechanical causes of gate failure in Los Angeles. We run these same checks on every service call we make across the city, from the Canyons to the flats.
- The manual release test. Every automatic gate operator has a manual release mechanism, usually a small lever, keyed lock, or pull chain on the operator itself. On LiftMaster and Elite slide operators, it’s often a red-handled lever. On Ghost Controls and Mighty Mule swing operators, look for a small pull pin or a release knob. Disengaging this release physically separates the operator from the gate leaf or chain. Once released, try moving the gate by hand through its full travel path.
- The drag test. This is the heart of mechanical diagnosis. With the operator disengaged, push or pull the gate manually through its full range of motion. A properly balanced, properly aligned gate should move with moderate, consistent effort the entire way. If you feel it bind at a specific point, catch on something, or require noticeably more force to move through one section than another, you’ve found a mechanical problem. The operator isn’t the issue. The gate is. In our experience, at least a third of “operator failure” calls in Los Angeles turn out to be a gate that simply got too hard to move, and the operator was doing its best until it burned out trying.
- The visual tension check. For sliding gates, look at the drive chain. It should have no more than about half an inch to an inch of vertical deflection at the midpoint when you press on it. A chain that’s visibly sagging or nearly touching the track has lost tension and may be skipping on the drive sprocket, which causes the gate to jerk, stall, or fail to fully open or close. For swing gates, visually inspect the hinge points where the gate attaches to the post. Rust, sagging, or visible gaps at the hinge indicate bearing wear that’s putting extra load on the operator.
If your gate passes all three checks, the mechanical tier of the signal chain is likely fine, and the problem lives higher up in the chain, in the operator motor, the control board, or the power supply. If your gate fails the drag test, no amount of operator adjustment or replacement will fix it properly. The gate itself needs mechanical repair before the operator can do its job. That’s the repair order we always follow: make the gate roll or swing freely first, then address anything electronic downstream.
Onboard LED Fault Codes: What Those Blinking Lights Actually Mean
Most modern gate operators have a diagnostic LED on the control board that blinks a specific number of times to indicate a specific fault. The trouble is that almost nobody looks it up. The LED blinks, the gate misbehaves, the owner calls a technician, and the tech spends ten minutes reading a fault code chart that was freely available all along. Here’s how to decode the most common patterns on the brands we see most often in Los Angeles.
LiftMaster and Chamberlain operators: the round LED on the board blinks in sequences. Three blinks, pause, three blinks, pause, typically means a force setting trip, which is the board’s way of saying the gate hit something or the mechanical load spiked. Five blinks often indicates a limit issue or a thermal overload, meaning the motor got too hot and the board shut it down to protect the windings. On a hot Santa Ana day in Van Nuys or Woodland Hills, thermal overload is more common than you’d think, especially on gates that are already working harder than they should due to mechanical drag.
Elite and DoorKing operators: these boards often have a small digital readout or a multi-LED display rather than a single blinking light. Elite boards show numeric codes; a code like “21” or “24” typically points to a reversing device or edge sensor issue, while a code in the 30s usually indicates a motor or run-time fault. DoorKing boards use a series of small LEDs, and the blink pattern on the “LOOP” or “MOTOR” LED is meaningful if you have the chart.
Ghost Controls and Mighty Mule: these are simpler systems aimed at the DIY market, and their diagnostics are simpler too. A red LED that blinks continuously on a Ghost Controls board usually means the system is in “party mode” or that the auto-close timer is active, which isn’t a fault at all. Rapid blinking with beeping from the operator often signals a low battery or a misaligned limit. Mighty Mule uses audible beep codes as much as lights; three beeps plus three blinks is its classic obstruction detection pattern.
The point is that the fault code is not a mysterious secret. Most operator manuals, freely available on the manufacturer’s website, include a full fault code chart, or you can find more guides & resources on our site. If your board is flashing a code and you can’t find your manual, that code is the fastest possible route to knowing which tier of the signal chain has failed. Write it down before you call anyone. It saves the technician time and saves you money, and in Los Angeles, where gate technicians often need to contend with traffic to reach the job, anything that shortens the diagnostic phase matters.
Limit Switches and Why Limits Drift
“Limit drifting” is one of the most common complaints we hear in Los Angeles electric gate repair, and it’s one of the least understood-though it’s covered in detail among our Electric Gate Repair Warning Signs Every Homeowner Should Know. The limits on a gate operator are the settings that tell the board where the gate should stop when it’s fully open and fully closed. On older operators, limits are set by physical switches inside the operator housing. On modern operators, they’re electronic, stored in the board’s memory and calculated from motor rotations or hall sensor counts.
Limit drifting is what happens when the gate stops stopping where it used to. You’ll notice the gate opening to 90% of its normal travel and then stopping, or closing short and leaving a gap, or overshooting and slamming the mechanical stop. The behavior seems random, and that’s the biggest clue it’s a limit problem rather than a mechanical one. Mechanical binding happens at the same point every time. Limit drift is inconsistent.
Common causes of limit drift include:
- Power interruptions. A series of brief power outages, the kind that happen during Los Angeles Santa Ana wind events or utility switching, can corrupt the board’s stored limit positions. When the board reboots, it no longer knows exactly where the gate is along its travel path.
- Worn drive components. On a chain-drive slide gate, a stretched chain means the gate physically moves a different distance per motor revolution than the board expects. The board thinks it’s been running long enough to reach the limit, but the gate hasn’t actually traveled far enough. It’s the mechanical and electronic tiers of the signal chain interacting in a way that looks like a control problem.
- Manual release events. If the gate is manually released and moved by hand, then re-engaged without a full re-learn cycle, the board’s stored limit positions no longer match reality. This happens constantly in Los Angeles, where gardeners will release a gate to push it open manually rather than wait for the operator, then re-engage it in a different position than where the board thinks it is.
The fix for limit drift is a re-learn procedure. On most modern operators, this involves putting the board into “learn” mode and running the gate through a full open and close cycle so the board can re-map the travel path and reset the limit positions. On many LiftMaster, Elite, and Ghost Controls models, this is a straightforward button sequence on the board. On DoorKing and older Viking operators, the limit re-learn may also involve resetting the torque or force settings, which is harder to do correctly without the manual or experience. If the limits are drifting repeatedly, the underlying cause, often a worn chain or a failing capacitor, needs to be addressed, or the limits will drift again within weeks.
Where to Draw the Line: What You Should Not Attempt Yourself
We believe in homeowner troubleshooting. We’ve just spent two thousand words teaching you how to do it safely. But there’s a line, and crossing it can hurt you or destroy your operator. Here’s exactly where that line sits and why.
Anything involving 120V or 24V wiring. The power feed into the operator housing carries 120 volts. The transformer, the capacitor, and portions of the control board carry voltages that can kill you or start a fire. A capacitor stores charge even after the power is disconnected, and a charged capacitor from a gate operator can deliver a shock that stops your heart. This is not an exaggeration. If the problem requires opening the operator housing and touching anything other than the manual release lever or the factory reset button, stop. This includes wiring a new control board, replacing a capacitor, troubleshooting a short in the low-voltage wiring, or repairing a splice in the incoming power line. In Los Angeles, where many gate installs date back decades and wiring has been added to by multiple hands across multiple code cycles, we open operator housings and find things that make us step back. You should not be in there.
Working on the gearbox or motor assembly. The motor and gear train inside a slide operator or a swing arm actuator are under mechanical load and are not designed for field disassembly by non-technicians. A stripped gear, a failed bearing, or a seized motor requires replacement of the affected assembly, not a hammer and grease. Attempting to repair a gearbox at home is also a good way to void the warranty on a newer operator. Replacing a swing-gate actuator arm in Los Angeles typically runs $400 to $900 parts and labor depending on brand and gate weight; attempting to rebuild one yourself rarely saves money once you factor in the replacement parts, the time, and the likelihood of buying a second actuator anyway.
Any repair involving the gate after a vehicle impact. If a car or truck has hit the gate, the damage is almost never limited to visible panel dents. Impact bends the track, warps the frame, shears hinge bolts, and loads the operator in ways it was never designed to handle. This is a structural repair and a mechanical repair and often an operator repair all in one. We see impact-damaged gates all over Los Angeles, from Studio City hillsides where a car rolled back on a driveway to Venice alleys where a delivery truck clipped a sliding gate. These jobs require measured assessment, not troubleshooting.
If you’re uncertain which side of this line a particular problem falls on, call someone who works on gates every day. A good technician will tell you over the phone whether the issue sounds safe to troubleshoot yourself or whether it needs a service call. That’s part of the job, and we take the question seriously every time someone calls Portcullis Gate Repair with a gate down and a question about whether to touch it.
Common Mistakes to Avoid
- Replacing the remote before checking the battery. We see this constantly in Los Angeles. A homeowner assumes the remote is dead, buys a new one for $60 to $120, and then discovers the old remote works fine with a $3 battery installed. Always try the battery first.
- Adjusting the force or torque settings to “fix” a binding gate. If your gate is hard to move mechanically, increasing the force setting on the operator forces the motor to push through the resistance. It works for a while. Then the motor burns out, the gear strips, or the chain snaps. The correct fix is to address the mechanical binding, not mask it with more motor force.
- Ignoring a gate that’s been reversing intermittently. A gate that reverses occasionally is telling you something is wrong, usually an obstruction sensor or a developing mechanical issue. Letting it go for months turns a $200 repair into a $900 operator replacement.
- Power-washing the operator housing. Pressure washers are common in Los Angeles, where dusty conditions invite regular exterior cleaning. But a pressure washer aimed at a gate operator forces water past the gaskets and into the control board. We replace boards every year that died from exactly this. Clean the housing with a damp rag instead.
- Leaving the gate manually released for days or weeks. Many Los Angeles homeowners release their gate manually when it starts acting up, then leave it that way while they decide what to do. A gate left in manual release with the operator still powered can sometimes re-engage at the wrong moment, damaging the release mechanism or surprising someone pushing the gate. If you release it, either re-engage it or power the operator down.
- Assuming any blinking LED means the board is dead. A blinking light is a diagnostic code, not a death sentence. Before you pay for a new board, look up what the code means. In many cases, the fault is in a safety sensor or a limit switch, not the board itself.
When to Call a Professional
If you’ve run through the power checks, the remote troubleshooting, and the mechanical checks in this guide and your gate still won’t operate correctly, it’s time to bring in someone who does this work full-time. The scenarios that genuinely need a professional include any board-level fault you can’t clear with a factory reset, any motor failure that involves opening the gearbox, any limit drift that returns within a month of re-learning, any gate that’s been hit by a vehicle, and any installation or replacement of an operator, actuator, or full gate system. For Los Angeles homeowners, the decision radius is also practical: most residential gate problems here fall into the $150 to $900 range for repair, while a full operator replacement on a slide gate can run $1,200 to $2,800 installed depending on the brand, the gate’s weight, and the access conditions. A good gate company tells you the price in writing before any work starts, not after. Portcullis Gate Repair offers free estimates in Los Angeles, call (940) 412-7340, and every job includes a written Kingswell Guarantee before a single bolt is turned.
Frequently Asked Questions
Most electric gate repairs in Los Angeles run between $150 and $900 depending on the component. A basic service call with a minor adjustment like limit setting or remote reprogramming typically runs $150 to $250. Replacing a control board, receiver, or safety sensor runs $300 to $700 parts and labor. Replacing a swing-gate actuator or slide-operator motor can run $400 to $900 or more depending on the brand. Full operator replacement on a slide gate starts around $1,200 and goes up from there based on gate weight and access conditions. Every Portcullis Gate Repair estimate is written and delivered before any work begins. Call (940) 412-7340 for a free exact quote, and no, there’s no charge for the estimate itself.
Yes, a tripped GFCI is one of the most common causes of a completely dead electric gate. Most Los Angeles gate operators plug into a GFCI-protected outlet, and GFCI breakers and outlets are designed to trip on any ground fault, which includes moisture in the outlet box, a power surge, or a failing component downstream. Press the RESET button on the outlet before you assume anything more serious is wrong.
Do the manual release test. Disengage the operator using the release lever or pull pin, then try to move the gate by hand through its full travel path. If the gate moves freely and consistently, the problem is likely electrical, in the power supply, board, or motor. If the gate binds, catches, or requires uneven force, you have a mechanical problem in the hinges, track, rollers, or frame that needs to be fixed before the operator can function properly again.
A gate that opens a few inches and then reverses is usually tripping its obstruction detection system. The board senses unexpected resistance in the motor current or receives a signal from the safety edge or photo eye, then reverses to avoid crushing whatever it thinks is in the path. Common causes in Los Angeles include overgrown plants touching the gate or track, debris like loose gravel or fallen leaves in the track, a misaligned photo eye, or a failing safety edge. Clear the obvious obstructions first, then call for service if the behavior continues.
A properly maintained electric gate operator in Los Angeles typically lasts 10 to 15 years. Coastal properties in areas like Pacific Palisades, Marina del Rey, and San Pedro may see shorter lifespans due to salt air corrosion. Gates that are mechanically neglected, with binding hinges or debris regularly left in the track, can burn through an operator in 5 to 7 years because the motor works harder than it was designed to on every cycle. The best way to extend operator life is to fix mechanical problems promptly and keep the track and hinges maintained, following a Gate Installation Maintenance Schedule: What to Do and When.
Yes, we service all four of those brands, along with LiftMaster, FAAC, BFT, Linear, and Viking. Our technicians are trained on nine major gate-operator brands, so the person who shows up at your Los Angeles property already knows the specific system installed, its fault codes, its limit procedures, and its common failure points. We also carry parts for most of these brands on the service vehicle, which means we can often complete the repair on the first visit instead of ordering parts and returning later.
The Bottom Line
Electric gate troubleshooting is not a mystery. It’s a sequence: confirm power, test the command path, then isolate whether the failure is electronic in the board, electric in the motor, or mechanical in the gate itself. Most dead gates in Los Angeles are revived by a GFCI reset or a remote battery. Most “broken” operators are actually healthy motors fighting a gate that’s become too hard to move. And most fault codes are sitting in the manual, telling you exactly what’s wrong if you bother to look. Run through the checks in this guide, draw the line at high-voltage wiring and gearbox work, and when you’ve isolated the problem, call someone who will put the price in writing before starting. That’s the standard, and it’s the only way we work.
Written by Dean Prescott, Owner at Portcullis Gate Repair, serving Los Angeles since 2008.